
If your Vitamix blender is overheating during use, it can disrupt your blending sessions and potentially damage the motor. Recognizing the causes and knowing how to fix the issue is essential for safe and efficient operation. This guide provides clear, step-by-step solutions to troubleshoot overheating problems with your Vitamix.
Follow these instructions carefully to restore your blender’s performance and prevent future overheating incidents.
Key Takeaways
| Overheating causes | Overloading, extended blending, or blocked vents can cause overheating. |
| Immediate fix | Allow the blender to cool down before restarting. |
| Prevention tips | Avoid overfilling and give the motor breaks during heavy use. |
| Maintenance | Regularly check and clean vents and blades for smooth operation. |

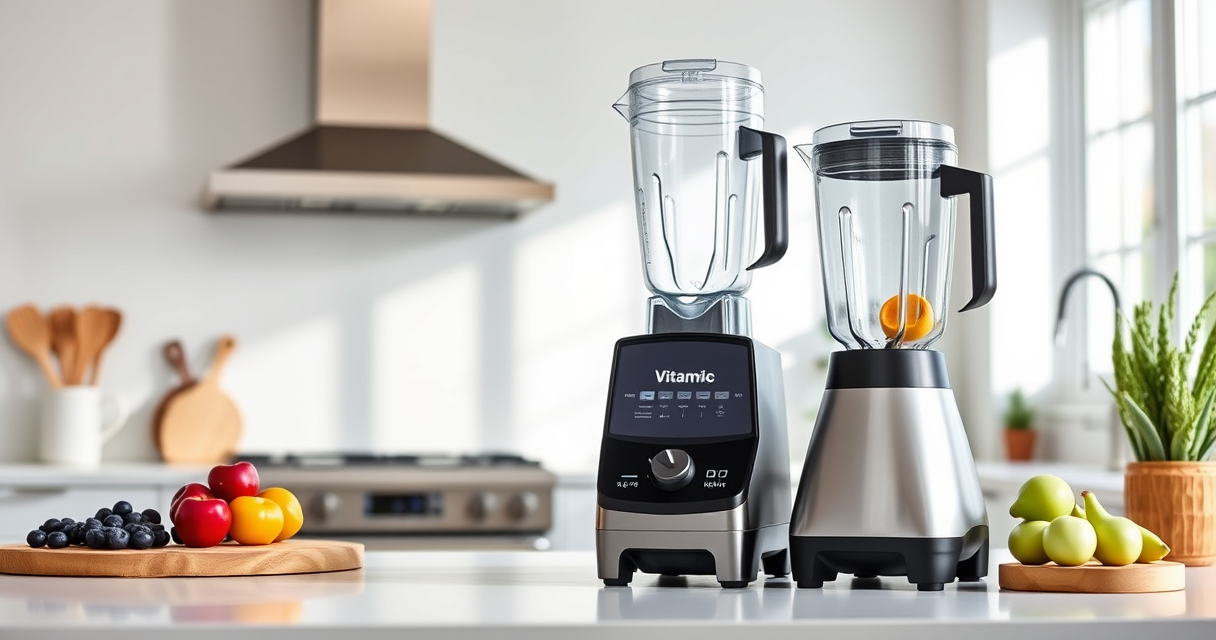
Vitamix Ascent X3 Blender with Three Blending Programs, Self-Cleaning Program, Professional-Grade Blender for Smoothies, Soups and More, Stainless-Steel Blades, 48 Oz Container, Shadow Black
Included: Ascent X3 blender motor base, 48-ounce container, S2 low-profile tamper, tamper holder, and digital recipe book; this...
As an affiliate, we earn on qualifying purchases.
Identify the Overheating Signs
- The blender motor stops unexpectedly during use.
- It emits a burning smell or unusual heat from the motor base.
- The unit displays an overheating warning or error message.
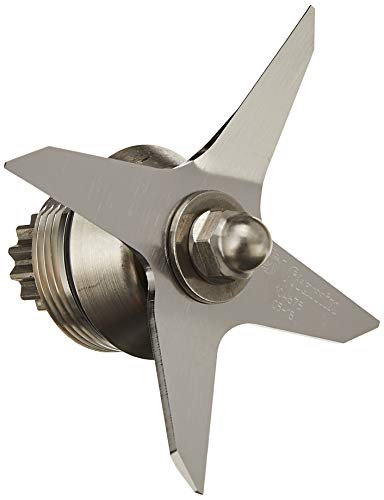
Vitamix Wet Blade Assembly, Silver
The Wet Blade Assembly is designed to be used with the 64-, 48-, and 32-ounce Standard Containers.
As an affiliate, we earn on qualifying purchases.
Step 1: Turn Off and Unplug
- Immediately turn off the blender using the control panel.
- Unplug the unit from the power outlet to prevent electrical hazards.
Step 2: Allow Cooling
Let the Vitamix sit unplugged and cool down for at least 15-30 minutes. This allows the motor to dissipate heat safely.
Step 3: Check for Blockages and Overloading
- Inspect the container and blades for any obstructions or stuck ingredients.
- Ensure you haven’t overfilled the container beyond capacity.
Step 4: Reset and Test
Once cooled, plug the blender back in. Run a short, low-speed cycle without ingredients to see if the overheating warning resets. Gradually increase the load as you monitor the unit.
The Products in This Guide

Vitamix Ascent X3 Blender
- ✔ Capacity: 48 oz
- ✔ Weight: Approx. 13 lbs
- ✔ Dimensions: 8 x 7 x 18 inches

Vitamix Wet Blade Assembly
- ✔ Material: Stainless steel
- ✔ Compatibility: Standard containers
- ✔ Dimensions: Blade diameter 4 inches
Vitamix Ascent X3 Blender
The Vitamix Ascent X3 Blender is a powerful, professional-grade appliance that offers multiple blending programs and self-cleaning features. When overheating occurs, following the proper steps can help restore optimal performance without damaging the unit.
Pros:
- Powerful motor for tough ingredients
- Multiple blending programs
- Self-cleaning feature
- Stainless-steel blades
Cons:
- Can overheat with heavy use
- Requires proper maintenance
- Limited container options for some models
Best for: Smoothies, soups, frozen desserts, and heavy-duty blending
Not ideal for: Light, infrequent use or small batch blending
Bottom line: Proper care and cautious use ensure your Vitamix operates smoothly and avoids overheating.
Vitamix Wet Blade Assembly
Replacing your old or damaged blades with the Vitamix Wet Blade Assembly ensures continued high performance for your standard containers. It handles everything from crushing ice to making purees.
Pros:
- Hardened stainless steel blades
- Long-lasting bearings
- Quick installation
- Compatible with multiple containers
Cons:
- Not compatible with newer containers
- Requires proper installation
- Limited to specific containers
Best for: Heavy-duty blending and replacement needs
Not ideal for: For newer model containers or non-compatible units
Bottom line: A reliable replacement blade keeps your Vitamix performing at its best.
Frequently Asked Questions
Can overheating damage my Vitamix?
Yes, persistent overheating can strain the motor and reduce the lifespan of your blender. It’s important to let it cool and avoid overloading.
How long should I wait before using the blender again?
Allow the blender to cool for at least 15-30 minutes after overheating before attempting to use it again.
What are the main causes of overheating in Vitamix blenders?
Overloading the container, blending for extended periods, or blocking vents can lead to overheating.
How can I prevent overheating in the future?
Avoid overfilling, blend in shorter sessions, give the motor breaks, and regularly clean vents and blades for smooth operation.
Keep Your Vitamix Cool and Ready
By understanding the causes of overheating and following these troubleshooting steps, you can ensure your Vitamix blender stays in top shape. Proper maintenance and cautious use will prevent future issues, allowing you to enjoy smooth blends for years to come.
Affiliate disclosure: As an Amazon Associate we earn from qualifying purchases. Prices and availability are accurate as of the time of publishing.