
To combat moisture and cold, you can easily install DIY window insulation film. First, clean your window frames thoroughly, then cut the film to fit each window. Apply double-sided tape around the edges and use a hairdryer to shrink the film, creating a tight seal. This reduces drafts and moisture buildup, making your home warmer and more energy-efficient. Keep exploring for tips on how to maximize its benefits and stay cozy all winter.
Key Takeaways
- DIY window insulation film creates a nearly airtight barrier, blocking cold drafts and reducing moisture buildup.
- Proper application with double-sided tape and a hairdryer ensures tight sealing and wrinkle-free coverage.
- Combining insulation film with thermal curtains enhances overall home warmth and reduces heat loss.
- Maintaining clean window frames before installation improves adhesion and effectiveness of the film.
- Regularly inspecting and replacing damaged film prevents moisture infiltration and maintains insulation performance.
Looking for an easy way to keep your home warmer this winter? Installing DIY window insulation film is a simple, cost-effective method to block cold drafts, reduce moisture buildup, and boost your home’s energy efficiency. You don’t need to be a handyman—just a few supplies and a little time can make a noticeable difference. But before you jump into applying insulation film, consider other quick upgrades like thermal curtains and draft stoppers. These add-ons can complement your efforts and further seal out the chill, making your home cozier.
Thermal curtains are a smart addition. They’re thick, lined drapes designed to insulate your windows by trapping a layer of warm air between the curtain and glass. When you close them at night or during the coldest parts of the day, they act as a barrier, keeping heat from escaping and cold air from sneaking in. In fact, thermal curtains can cut heat loss through windows by up to 25%, which means you’ll notice a warmer room and potentially lower heating bills. Plus, they’re easy to install—just hang them on your existing curtain rods, and you’re good to go. Keep them closed during the night and when the sun isn’t shining to maximize their insulating benefits.
Thermal curtains can cut window heat loss by up to 25%, keeping your home warmer and saving on energy bills.
Draft stoppers are another simple, inexpensive way to prevent cold air from seeping under doors and around windows. You can buy them pre-made or make your own using rolled-up towels or fabric tubes filled with sand or rice. Placing draft stoppers at the base of your windows and doors creates a tight seal, stopping chilly drafts from undermining your insulation efforts. These little devices are especially useful if your windows are old or improperly sealed, as they directly block the passage of cold air into your living space. Using draft stoppers alongside thermal curtains and insulation film creates a multi-layered defense against winter’s worst. Additionally, choosing high-quality insulation materials can significantly enhance your window’s thermal performance and further reduce moisture issues.
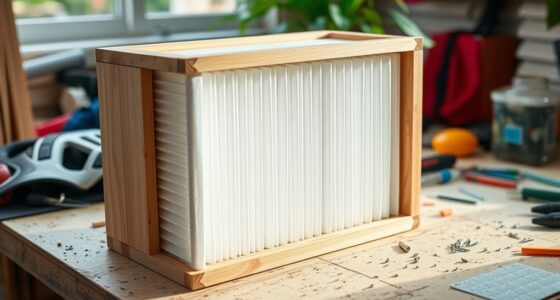
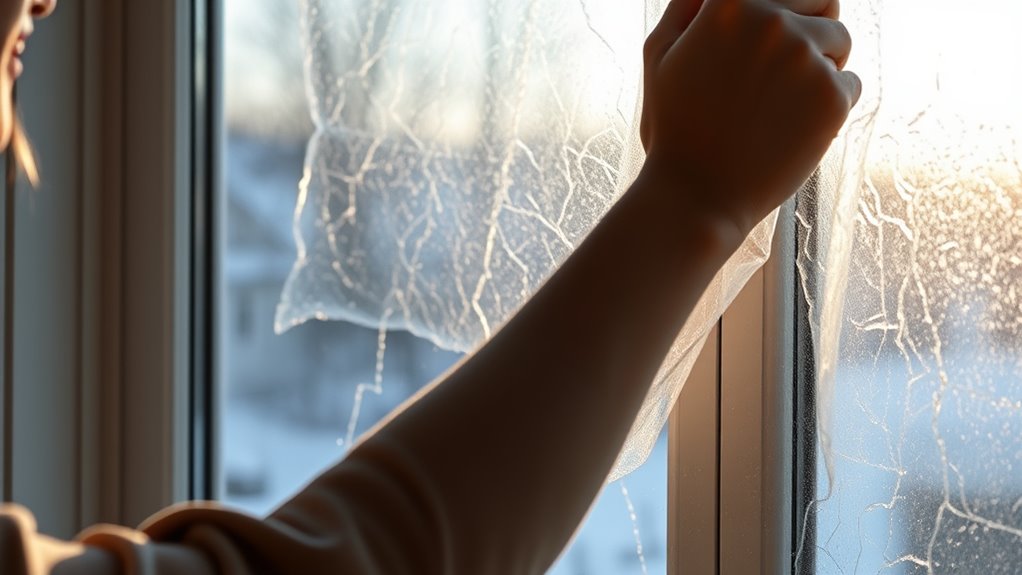
When you’re ready to install your DIY window insulation film, start by cleaning your window frames thoroughly. Measure and cut the film to fit each window, then carefully apply double-sided tape around the edges. Once the film is in place, use a hairdryer to shrink and tighten it, eliminating wrinkles for a clear, taut finish. This process creates a nearly airtight barrier that reduces drafts and prevents moisture from condensing on the glass, which can cause mold or frost. When combined with thermal curtains and draft stoppers, your windows will be well-insulated, making your home warmer and more comfortable without breaking the bank.
Frequently Asked Questions
Can DIY Window Insulation Film Be Reused Annually?
Yes, you can reuse DIY window insulation film annually if you handle it carefully. Reusability concerns include potential tearing or reduced adhesion over time. To keep it in good shape, clean the film gently and store it flat in a cool, dry place when not in use. Maintenance tips like inspecting for damage before reapplication guarantee your film stays effective year after year, saving you time and money.
Is Special Equipment Needed for Applying the Insulation Film?
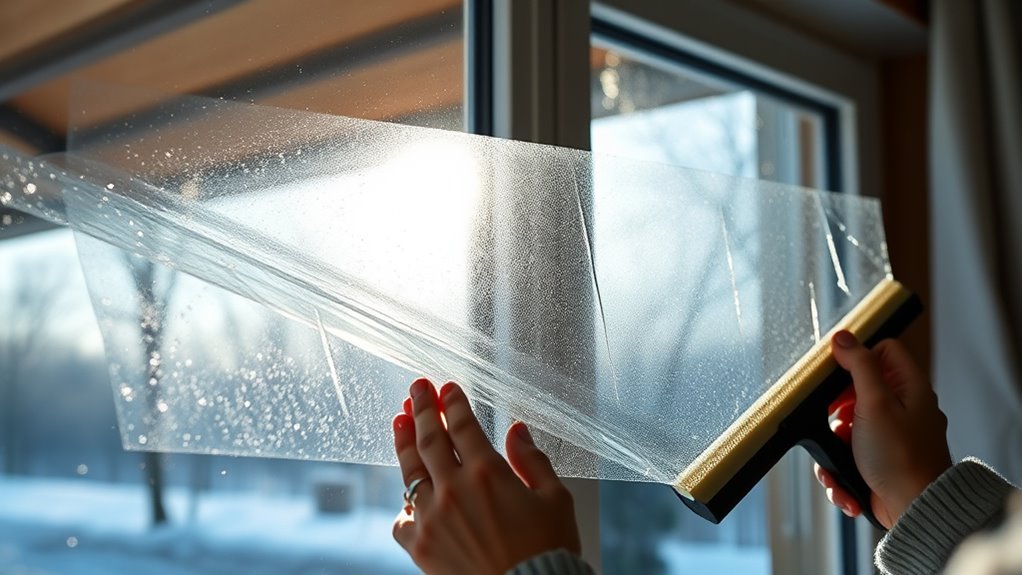
Applying insulation film is like wrapping your window in a cozy blanket, but you don’t need special equipment. You’ll only need basic application tools like a squeegee or a utility knife. Just make sure to prepare the surface properly—clean and dry it—so the film sticks smoothly. With these simple steps, you can insulate your windows effectively without any fancy gadgets, saving you time and money.
How Long Does DIY Window Insulation Film Last?
You can expect your DIY window insulation film to last about one to two winters, depending on how well you apply it and the window’s exposure to elements. Proper installation enhances window durability and extends the insulation lifespan. To maximize longevity, guarantee the film is securely adhered, and avoid harsh weather conditions during application. Regularly check for tears or peeling to maintain effective insulation and prevent moisture buildup.
Will It Affect the Window’s Visibility or Clarity?
You might notice a slight impact on your window’s clarity and visibility after applying the insulation film. Most films are designed to be transparent, so your view remains mostly unobstructed. However, some lower-quality films can cause a minor haze or reduce clarity, especially if not applied smoothly. To maintain the best visibility, follow the application instructions carefully, and choose a high-quality film for minimal visibility impact.
Can It Be Applied to All Types of Windows?
You can apply the insulation film to most window types, but it’s essential to consider your window material and glass thickness. Vinyl, wood, and aluminum frames typically work well. Thicker or specialty glass may require a different installation approach or specialized film. Always check the manufacturer’s guidelines to ensure compatibility, and make sure the film adheres securely without damaging your window material or obstructing visibility.
Conclusion
Now that you’ve learned how to install DIY window insulation film, you’re equipped to turn your windows into a fortress against moisture and cold. Think of it as giving your home a cozy blanket, wrapping warmth around you even on the coldest days. With just a little effort, you can transform uncomfortable drafts into a snug sanctuary. So, go ahead—seal those windows and let comfort flow in like a warm summer breeze.