
To craft a simple humidity indicator card at home, gather materials like dried rice, salt, or silica gel beads, and attach them to a small piece of cardboard or paper with marked humidity levels. Observe for visual changes such as crystallization or dissolving, which signal different humidity ranges. Keep it sealed or exposed depending on your needs. If you keep going, you’ll discover easy ways to make it more accurate and reliable for your indoor environment.
Key Takeaways
- Use household hygroscopic materials like salt, silica gel, or dried rice to create moisture-sensitive indicators on a card.
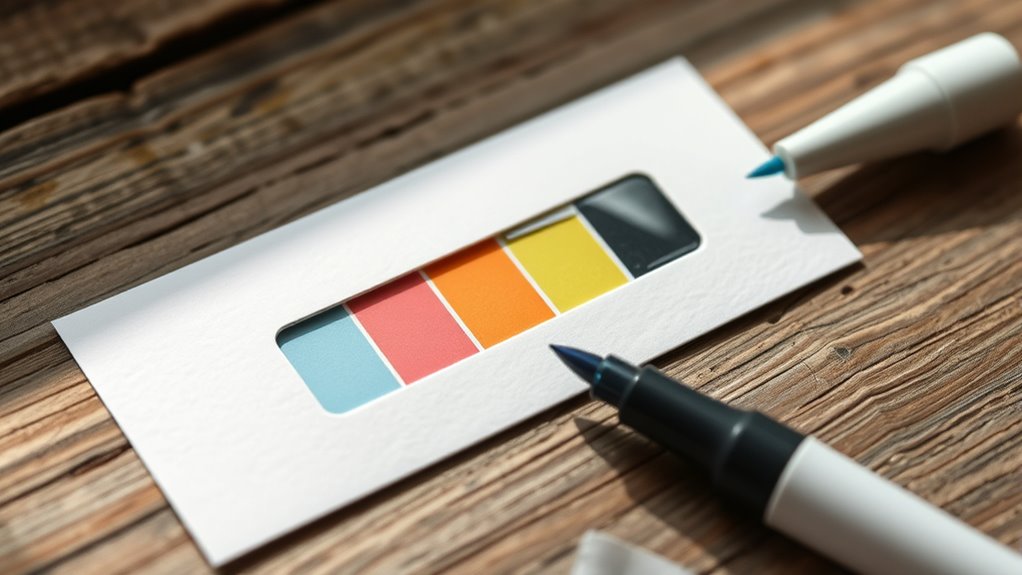
- Mark humidity levels (e.g., 30%, 50%, 70%) on the card for easy visual reference.
- Place salt or silica gel on the card and observe crystallization or texture changes over time.
- Seal the card in a plastic or glass container to monitor indoor humidity fluctuations effectively.
- Regularly check for visible cues like crystallization or dissolution to assess indoor humidity levels simply.

Ever wondered how to easily monitor indoor humidity levels without complicated equipment? Crafting a simple humidity indicator card at home is a practical solution that relies on straightforward DIY techniques and accessible material options. You don’t need to be an expert or invest in expensive tools—just a few common supplies and some basic steps can give you a reliable way to keep tabs on your indoor environment.
First, consider the DIY techniques involved in creating your humidity indicator card. The core idea is to use materials that respond visibly to changes in humidity, such as hygroscopic substances that expand or contract with moisture. For instance, you can use materials like dried rice, silica gel beads, or even certain kitchen staples like salt or salt solutions. These substances react to moisture levels and can serve as indicators when incorporated into your card. The key is to select a material that exhibits a clear, observable change at different humidity levels, making it easy to interpret whether your indoor air is too dry or too humid.
Use hygroscopic materials like salt or silica gel to visually indicate indoor humidity changes.
When choosing material options, think about what’s readily available in your home or local stores. Small pieces of paper or cardboard work well as a base for your indicator card. You can attach your moisture-sensitive material—like a small container filled with silica gel or a salt solution—onto the card. Using simple household items like a plastic or glass container, you can create a sealed environment where the moisture-sensitive material can absorb or release moisture. For example, placing a tiny amount of salt in a shallow dish on the card allows you to observe how it changes appearance or texture as humidity fluctuates. Over time, you’ll notice the salt crystallizes or dissolves, giving you visual cues about the indoor humidity level.
To make your DIY humidity indicator more functional, you can mark a scale on the card, noting typical humidity ranges—say, 30%, 50%, and 70%. As the material reacts to moisture, you’ll see it shift or change, aligning with these marks to give a clear, visual indication of your environment’s humidity. This simple device isn’t as precise as electronic hygrometers but provides a quick, cost-effective way to keep an eye on your home’s comfort levels. Plus, it’s customizable: you can experiment with different materials or scales based on your needs.
Additionally, understanding the industry trends in humidity measurement can help you optimize your DIY project for better accuracy and reliability. In essence, crafting a humidity indicator card at home involves using accessible materials, applying basic DIY techniques, and paying attention to visual cues. It’s an inexpensive, effective way to stay aware of your indoor air quality without complicated gadgets, helping you maintain a healthier, more comfortable living space.
Frequently Asked Questions
Can I Reuse the Humidity Indicator Card After It Changes Color?
Yes, you can reuse a humidity indicator card if it has a reusable indicator with color reversal. Once it changes color due to humidity, let it dry out completely or reset it according to the manufacturer’s instructions. Reusable indicators are designed to be used multiple times, making them cost-effective. Just guarantee the indicator’s color is reset, so you can accurately monitor humidity levels again without confusion.
What Materials Are Safest for Homemade Humidity Indicator Cards?
You should use non-toxic dyes and food-safe materials when making homemade humidity indicator cards. These materials are safe for you and your environment, reducing health risks. Avoid using harsh chemicals or toxic pigments, as they can be harmful if touched or inhaled. Stick to natural, food-grade substances like colored rice, dried herbs, or natural dyes, ensuring your humidity card is both safe and eco-friendly for repeated use or display.
How Accurate Are DIY Humidity Indicator Cards Compared to Commercial Ones?
You might think DIY humidity indicator cards are less accurate than commercial ones, but with proper calibration techniques, they can be surprisingly reliable. The truth is, their accuracy largely depends on material stability and how well you calibrate them against known humidity levels. While they might not match the precision of professional devices, consistent calibration can make homemade cards a practical, cost-effective option for general humidity monitoring.
How Often Should I Check or Replace My Homemade Humidity Card?
You should check your homemade humidity card weekly to verify accuracy. Store it in stable conditions, avoiding extreme temperature or humidity shifts, which can affect readings. Recalibrate or replace the card every few months, especially if you notice inconsistent results. Regularly monitoring its condition and calibration frequency helps maintain reliable readings, ensuring your homemade indicator stays useful for tracking humidity levels effectively.
Are There Any Environmental Factors That Can Affect the Card’s Accuracy?
Environmental factors like temperature fluctuations and light exposure can affect your humidity card’s accuracy. If the temperature varies widely, it can cause the materials to expand or contract, skewing the readings. Direct light, especially sunlight, can fade or alter the colors on your card, making it harder to interpret correctly. To keep your readings reliable, store your card in a stable, shaded environment away from direct heat and sunlight.
Conclusion
Now that you’ve learned how to make your own humidity indicator card at home, you can monitor moisture levels easily, affordably, and accurately. You can customize your card to suit your needs, track changes over time, and protect your belongings. You can gain confidence in managing humidity, prevent damage, and enjoy peace of mind. With your homemade card, you can stay informed, stay prepared, and stay in control of your environment.