
After a flood, quickly drying your room safely involves first evaluating damage and removing any standing water using pumps or vacuums. Clear drainage blockages and guarantee proper water flow. Set up fans, dehumidifiers, and heaters to promote airflow and moisture removal. Regularly monitor humidity and moisture levels with hygrometers to prevent mold. For effective and safe drying, proper tools and techniques are essential—continue exploring to master the entire process.
Key Takeaways
- Conduct thorough damage assessment and document everything for insurance purposes before starting drying efforts.
- Remove standing water quickly using pumps, vacuums, and clear debris blocking drains to prevent mold and structural damage.
- Monitor humidity with hygrometers, adjusting fans and dehumidifiers to maintain safe moisture levels for effective drying.
- Use fans and heaters strategically to enhance airflow and evaporation without risking material damage or mold growth.
- Perform safety checks on electrical systems and inspect for residual moisture or damage before restoring power.
Assess the Flood Damage and Identify Standing Water
Before beginning the drying process, it’s essential to assess the flood damage thoroughly and identify any standing water. Conduct a detailed flood assessment to understand the extent of the damage and pinpoint areas affected by water. Water identification helps you determine where moisture has accumulated and whether it’s still present. Use a moisture meter or visual inspection to locate hidden pockets of water behind walls or under flooring. Recognizing the presence of standing water early prevents further damage and mold growth. Be cautious when inspecting, especially if wiring or electrical outlets are exposed. Document the damage for insurance purposes. Accurate water identification ensures you address all affected areas effectively, setting a solid foundation for the drying process ahead. Proper assessment techniques are crucial for effective flood recovery and minimizing long-term issues. Additionally, understanding sound vibrations and their influence on cellular health can support drying efforts by promoting cellular regeneration in affected tissues. Incorporating sound vibration therapy during the drying process may further enhance recovery and cellular repair. Moreover, utilizing advanced drying technologies can accelerate moisture removal and reduce the risk of secondary damage. It is also beneficial to consider environmental conditions, such as temperature and humidity levels, to optimize the drying process and prevent future issues.
Remove Standing Water and Clear Drainage Blockages

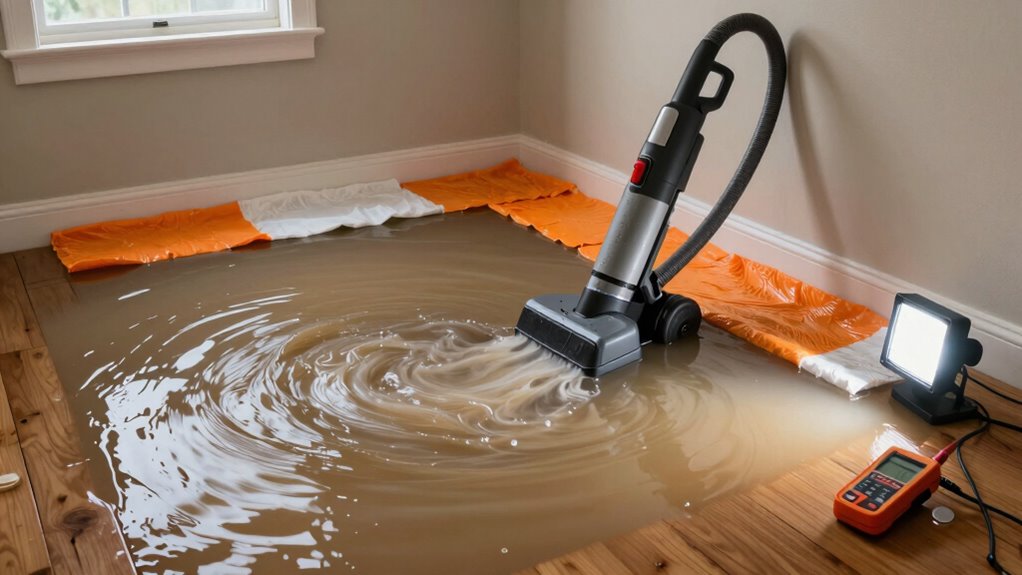
Start by removing any standing water to prevent further damage and mold growth. Check your drains for blockages and clear them out to make certain proper flow. Regularly maintain your drainage systems to keep water moving away from your property effectively. Additionally, practicing caregiver emotional health strategies can help you manage stress during this challenging time. Implementing electric bike maintenance practices can also ensure your drainage and electrical systems operate safely and efficiently after a flood. Monitoring measurement tools can help assess residual moisture and prevent hidden issues that could lead to future problems. Incorporating knowledge of regional flavors and drainage solutions can provide tailored approaches to flood recovery, considering local environmental conditions. Paying attention to drainage system design can further improve water flow and reduce future flooding risks.
Identify and Remove Water
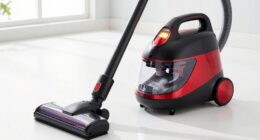
To effectively dry out your space after flooding, you need to identify and remove standing water promptly. Begin with water extraction using pumps or wet vacuums to eliminate as much water as possible. This step prevents further damage and reduces mold risks. Alongside water removal, clear debris that may be blocking drains or trapping water in corners. Removing debris allows water to flow freely and makes subsequent drying more effective. Check for hidden pools of water in low spots or behind furniture, and address these areas immediately. Use absorbent materials like towels for small spots, and ensure all standing water is thoroughly extracted. Prompt action now saves time and effort later, helping you restore your space safely and efficiently.
Clear and Maintain Drains
Since blocked or clogged drains can cause water to back up and worsen flooding, it’s essential to clear them promptly. Proper drain maintenance helps prevent future clogs and keeps water flowing smoothly. To do this, start by removing standing water with a pump or wet vacuum. Next, inspect drains for debris or blockages. Use a drain snake or plunger to dislodge stubborn clogs. Finally, consider applying a drain cleaner to prevent future buildup. Regularly maintaining drains not only clears existing blockages but also helps with clog prevention, reducing the risk of flooding recurrence. Staying informed about drainage systems and how they function can help you better prevent and respond to water issues. You can also learn about drainage system maintenance to enhance your flood preparedness. Additionally, understanding the functionality of drainage can help identify potential problems early. Monitoring drainage system performance regularly can help detect issues before they lead to severe blockages. Stay vigilant by checking drains frequently, especially after flooding, to keep water moving freely and protect your property from further water damage.
Gather the Right Tools for Flood Drying
Have you gathered the essential tools needed to effectively dry out your flood-affected area? A thorough tools checklist ensures you’re prepared and can work safely. Key items include high-quality moisture meters to detect hidden water, heavy-duty fans, and dehumidifiers to remove excess moisture. You’ll also need protective gear like gloves, masks, and goggles to follow safety precautions and prevent exposure to mold or contaminated water. A mop, buckets, and absorbent materials help with initial cleanup. Don’t forget extension cords and power strips to keep your equipment running safely. Ensuring you have the right tools beforehand makes the drying process more efficient and minimizes health risks. Proper preparation is crucial to dry your space quickly and safely, preventing further damage. Understanding moisture levels with reliable moisture meters helps you assess when the area is thoroughly dry. Additionally, being aware of water damage indicators can help you identify areas that require extra attention during cleanup, especially since water damage can sometimes be hidden behind walls or under flooring, making thorough assessment essential. Moreover, being familiar with drying techniques can optimize your efforts and ensure complete drying of the affected area. Also, knowing how to interpret moisture readings accurately allows you to make informed decisions during the drying process.
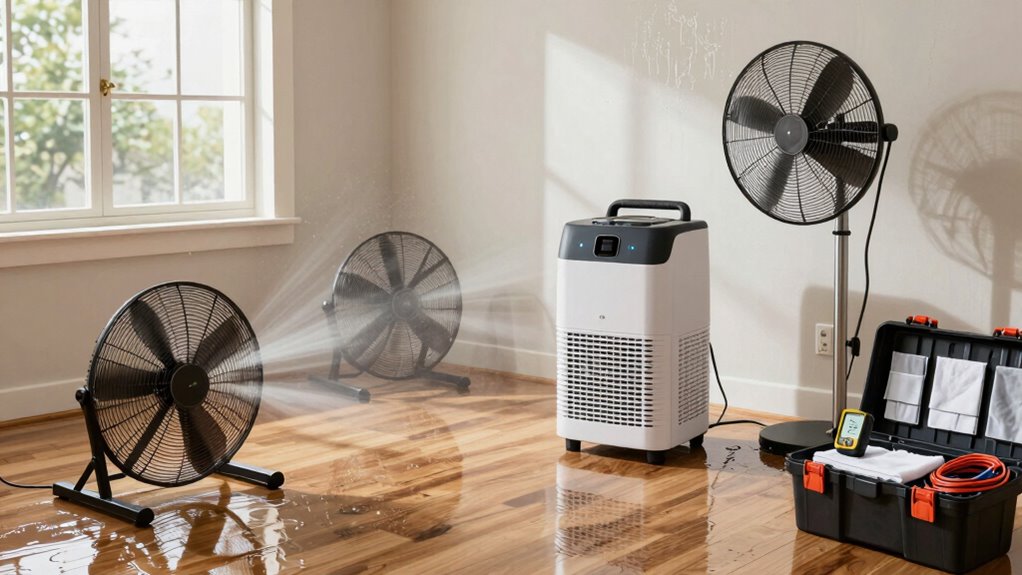
Set Up Ventilation, Fans, and Dehumidifiers Safely
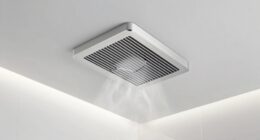
After gathering your tools, the next step is to set up ventilation, fans, and dehumidifiers safely to accelerate the drying process. Proper airflow optimization is essential, but safety precautions come first.
- Position fans to create cross-ventilation, ensuring airflow moves steadily through the room.
- Place dehumidifiers in central locations, away from walls, to maximize moisture removal.
- Use extension cords safely, avoiding overloading circuits or placing cords where they could trip you.
- Keep electrical devices dry and unplug them when not in use to prevent hazards. Additionally, ensure that electrical safety measures are followed to minimize the risk of shocks or fires during cleanup.
- Regularly inspect power cords and devices for damage, replacing any frayed or compromised cords to prevent potential fire hazards and ensure safe operation.
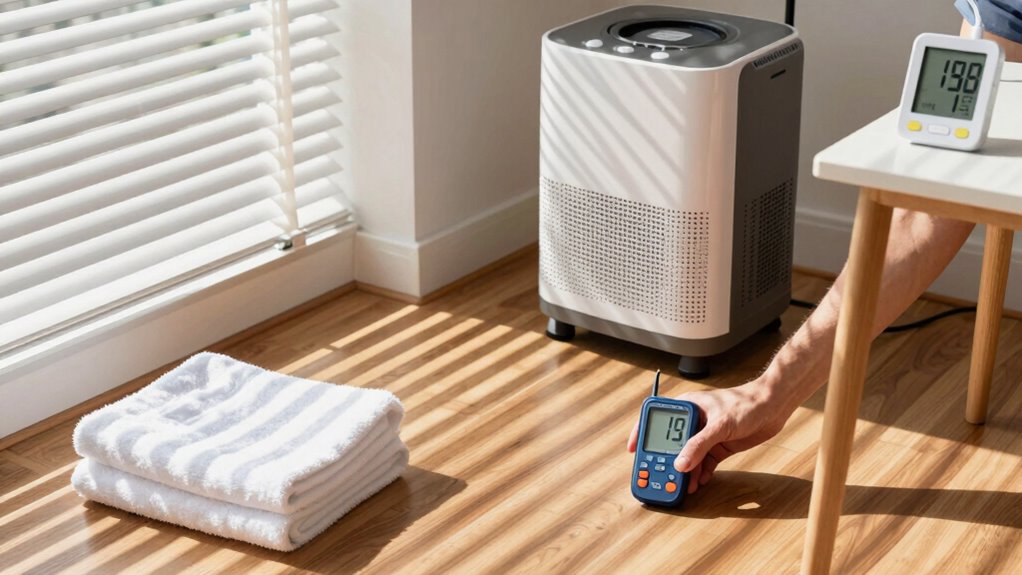
Monitor Humidity and Moisture Levels During Drying

You should regularly use hygrometers to keep an eye on humidity levels, ensuring they stay in the safe range. Track your progress consistently to identify when moisture is decreasing and drying is effective. Based on the readings, you can then adjust your drying methods to speed up the process or prevent further damage.
Use Hygrometers Regularly
Using hygrometers regularly is essential to guarantee your drying process stays on track. Accurate readings ensure you’re effectively removing excess moisture without over-drying. To maintain precision, regularly check hygrometer calibration, so your moisture measurements remain reliable. Here are key steps:
- Calibrate your hygrometer according to the manufacturer’s instructions to ensure accuracy.
- Use proper moisture measurement techniques, like placing the device in different spots for consistent readings.
- Monitor humidity levels daily to track progress and avoid mold growth.
- Adjust your drying methods if hygrometers indicate lingering high moisture levels.
Consistent use of hygrometers helps you control the environment and speed up drying, preventing secondary damage. Regular monitoring guarantees you’re on the right path toward a safe, dry space.
Track Progress Continuously
Consistently tracking humidity and moisture levels during the drying process helps you stay informed about your progress. Use a hygrometer to monitor changes, ensuring your space dries evenly and thoroughly. Keeping moisture levels low prevents mold growth, which is *essential* for mold prevention. Regular checks also help you decide when to ventilate or adjust dehumidifiers. Using waterproof paint on walls can be a good long-term solution, but during drying, accurate moisture readings are key. Here’s a quick guide:
| Humidity Level | Action Needed | Notes |
|---|---|---|
| Above 60% | Increase ventilation | Check moisture regularly |
| 50-60% | Monitor closely | Maintain steady airflow |
| 40-50% | Safe for finishing | Consider mold prevention measures |
| Below 40% | Drying complete | Ready for redecoration |
| Below 30% | Too dry | Avoid over-drying |
Consistently tracking helps you safely dry your room and prevent future issues.
Adjust Drying Methods
Monitoring humidity and moisture levels throughout the drying process allows you to make informed adjustments to your methods. Regularly check moisture readings with a hygrometer to ensure humidity control remains within safe limits. Use drying equipment like dehumidifiers and fans effectively by adjusting their settings based on these readings.
To optimize drying:
- Increase airflow with fans if moisture levels stay high.
- Use dehumidifiers to lower humidity when it rises too much.
- Shift drying equipment to targeted areas with higher moisture.
- Reduce humidity control efforts if readings indicate the room is drying too quickly, preventing mold growth.
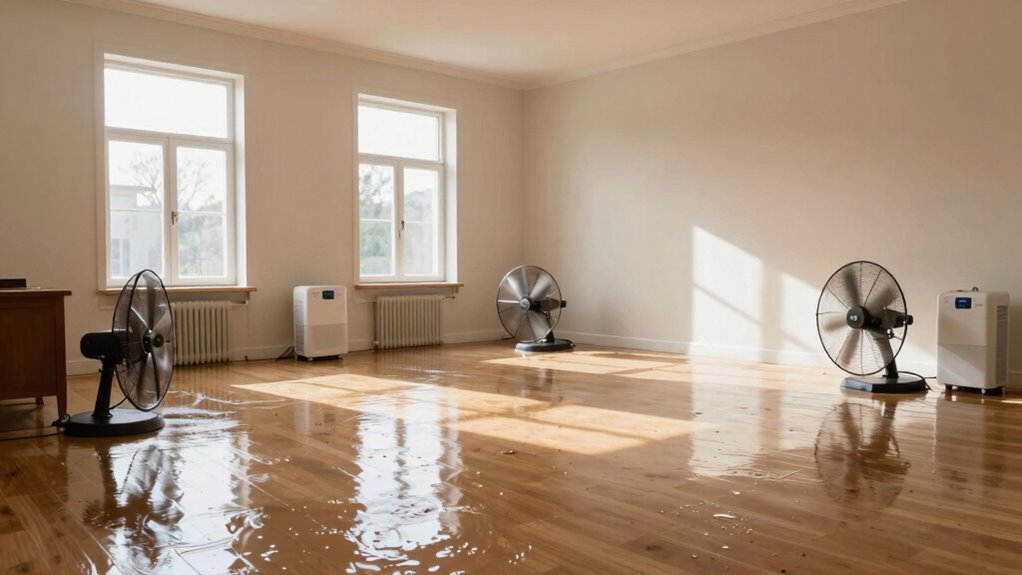
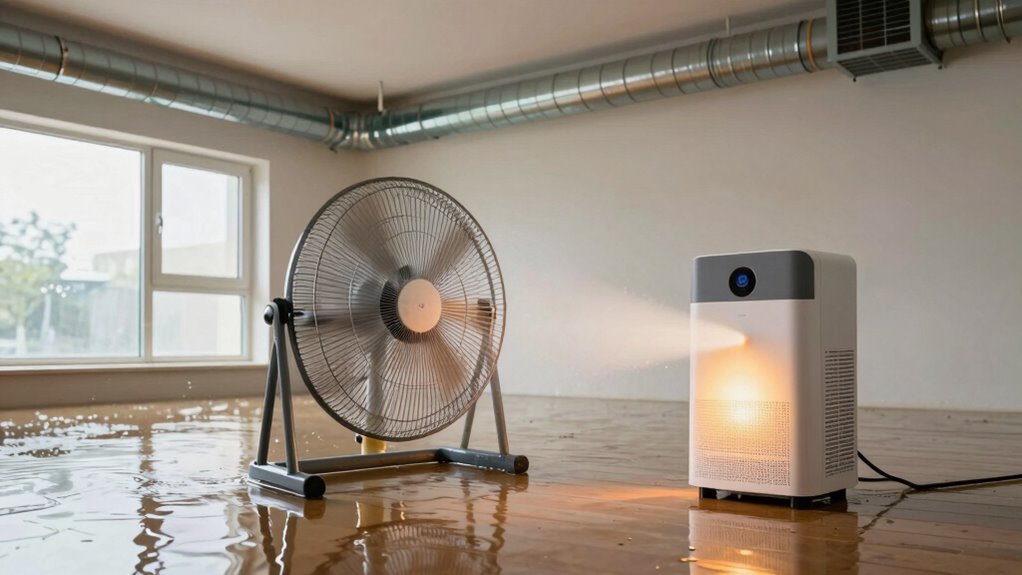
Use Heating and Airflow Strategies to Speed Drying
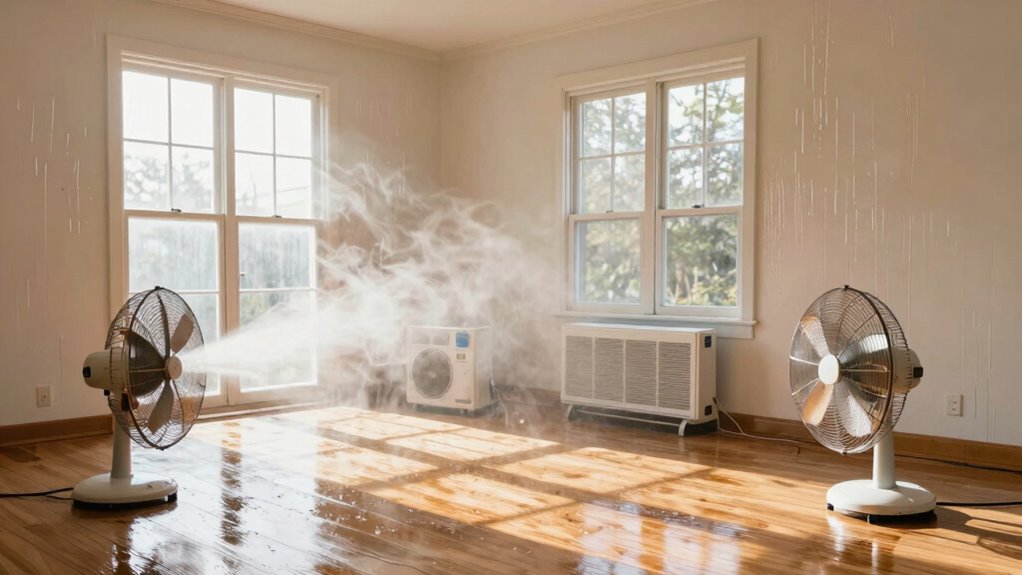
To speed up the drying process, you should strategically apply heating and airflow techniques. Use heating techniques like space heaters or warm air blowers to raise the room’s temperature, which helps moisture evaporate faster. Be cautious not to overheat, as excessive heat can damage materials or cause mold growth. Simultaneously, optimize airflow by opening windows and doors or using fans to promote circulation. Position fans to direct airflow across wet surfaces, enhancing evaporation. For best results, combine consistent heat with airflow optimization, ensuring even drying throughout the space. Remember, the goal is to create a controlled environment that accelerates moisture removal safely, without causing damage or creating unsafe conditions. Proper application of these strategies can substantially reduce drying time.
Final Checks: Confirm Your Room Is Fully Dry and Safe
Before considering the drying process complete, you need to verify that your room is thoroughly dry and safe. This final safety check ensures no hidden moisture remains that could cause mold or structural issues.
Always perform a final safety check to ensure your room is completely dry and secure.
- Use a moisture meter to confirm walls, floors, and ceilings are below the recommended moisture levels.
- Inspect for any signs of warping, cracking, or other damage indicating compromised structural integrity.
- Check for lingering odors or mold growth, which suggest residual moisture.
- Ensure electrical outlets and appliances are dry and safe before restoring power.
Completing these steps guarantees your room is fully dry and safe, protecting your home’s structural integrity and preventing future problems. Never skip these final safety checks after a flood.
Frequently Asked Questions
How Long Does It Typically Take to Fully Dry a Flooded Room?
It typically takes 24 to 72 hours to fully dry a flooded room, depending on the extent of water and drying techniques used. You should act quickly to reduce mold risk by using fans, dehumidifiers, and proper ventilation. Keep monitoring moisture levels, and guarantee all damp materials are thoroughly dried. The faster you dry the room, the safer it is against mold growth and further damage.
Can I Dry a Room Faster Without Professional Equipment?
Yes, you can dry a room faster with DIY drying and household methods. Use fans and open windows to boost airflow, and run dehumidifiers if you have them. Remove wet furnishings and absorb excess moisture with towels or old rags. Elevate furniture and use a wet-dry vacuum to extract water. These steps help speed up the drying process safely without professional equipment, but always prioritize safety and avoid creating additional damage.
What Are the Signs of Hidden Moisture Behind Walls or Furniture?
Hidden moisture behind walls or furniture is like an iceberg—most of it’s unseen. Look for signs like wall discoloration, which often indicates moisture detection issues, and listen for musty odors or subtle warping. You might also notice peeling paint or bubbling wallpaper. If you see these signs, it’s essential to investigate further with a moisture meter or professional help to prevent mold growth and structural damage.
Is It Safe to Sleep in a Room Immediately After Drying?
It’s not safe to sleep in a room immediately after drying if moisture detection shows lingering dampness. You need to make certain all hidden moisture is gone, as sleeping in a damp environment can cause mold growth and health issues. Use a moisture meter to double-check the walls, floors, and furniture. Once you confirm the area is completely dry, it’s safe to sleep, but always prioritize sleep safety and thorough drying.
How Can I Prevent Mold Growth After Drying My Flooded Room?
To prevent mold growth after drying your flooded room, focus on mold prevention and moisture control. Keep the area well-ventilated by opening windows and using fans. Use a dehumidifier to reduce residual moisture and regularly check for damp spots. Clean surfaces with mold-inhibiting solutions, and fix leaks promptly. Staying proactive guarantees mold doesn’t take hold, protecting your home and health.
Conclusion
Once you’ve completed your flood cleanup, think of it like tending to a vintage car—you need patience, care, and the right tools. Keep monitoring humidity levels, and don’t rush the process. With your diligent efforts, you’ll restore your room to a safe, dry haven faster than you could say “Great Scott!” Remember, a thorough drying now prevents future issues, so take your time and treat your space as carefully as a time traveler would a precious relic.