To improve indoor air quality, you can build a simple box-fan air purifier using HEPA filters that fit snugly and are positioned to maximize airflow into the room. Additionally, making a DIY humidity monitor with a sensor connected to a microcontroller allows you to track and maintain ideal humidity levels. These projects are affordable, effective, and straightforward. Keep exploring to discover steps for creating these useful devices and enhancing your home’s air quality.
Key Takeaways
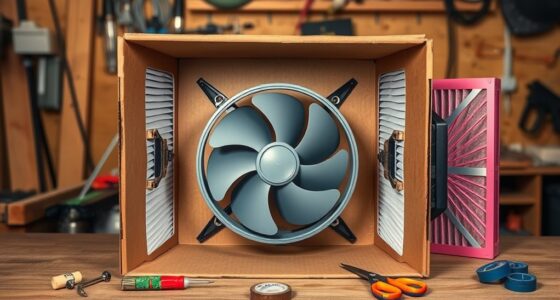
- Build a DIY box-fan air purifier using HEPA filters for cost-effective small particle filtration.
- Properly seal and position the fan and filter for optimal airflow and filtration efficiency.
- Regularly maintain and replace filters to ensure consistent air quality improvement.
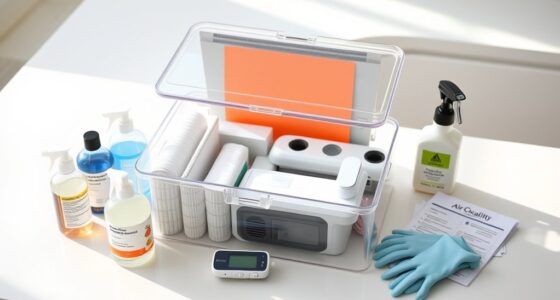
- Create a DIY humidity monitor with calibrated sensors connected to microcontrollers for accurate readings.
- Use humidity data to maintain ideal indoor levels, preventing mold and enhancing air quality.
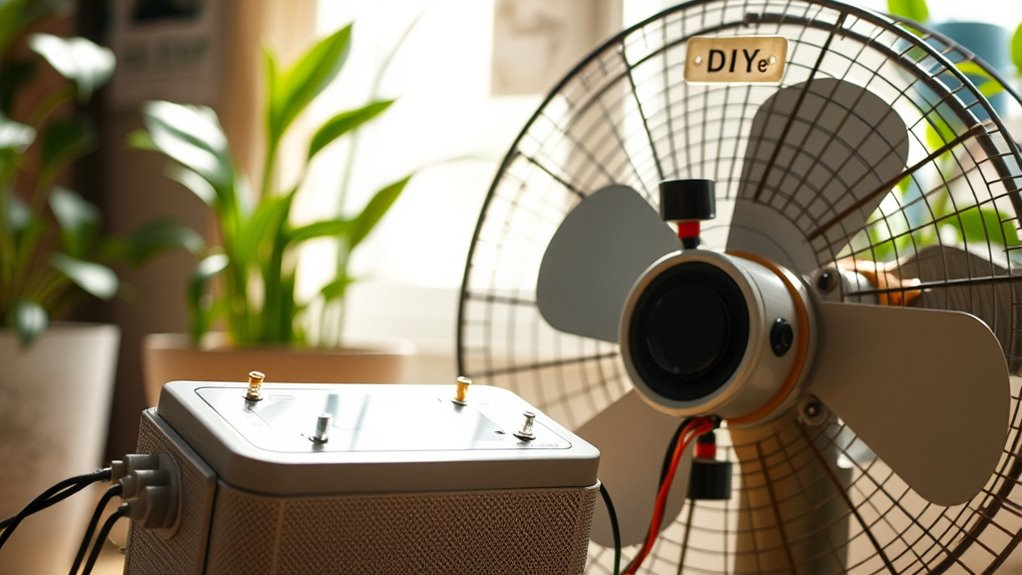
Building a DIY Box-Fan Air Purifier
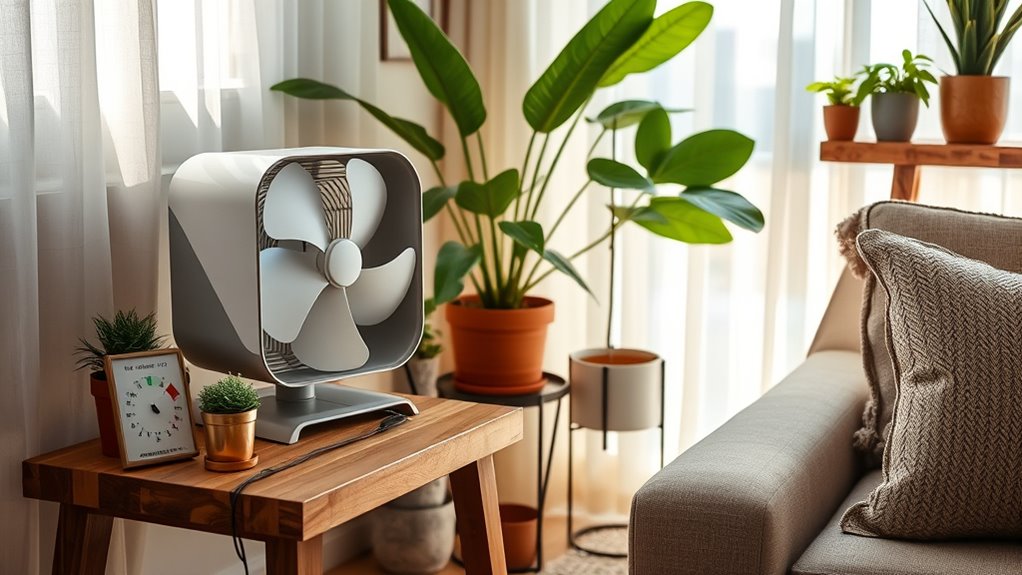
Building a DIY box-fan air purifier is an easy and cost-effective way to improve your indoor air quality. To start, choose the right filter selection—HEPA filters are ideal for capturing small particles like dust, pollen, and smoke. Make sure the filter fits snugly in your box or frame to prevent air leakage. Proper fan placement is essential; position the fan so it blows air through the filter and out into the room, ensuring maximum airflow and filtration efficiency. Secure the filter tightly to avoid gaps that could reduce effectiveness. Keep the fan at a safe distance from walls and furniture to promote good airflow. With these simple steps, you’ll create a powerful, budget-friendly purifier that refreshes your indoor environment.
Making Your Own Humidity Monitoring Device
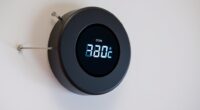
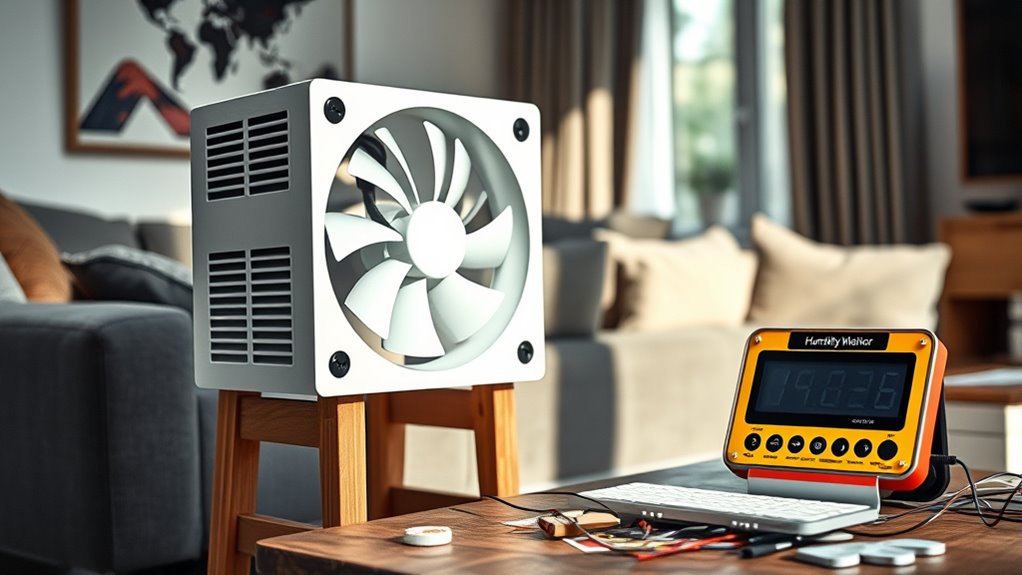
Once you’ve set up an air purifier to clean your indoor air, keeping track of humidity levels becomes the next intelligent step. Building your own humidity monitoring device is simple and cost-effective. First, select a reliable humidity sensor and verify proper sensor calibration for accurate readings. Next, connect the sensor to a microcontroller like Arduino or Raspberry Pi for data logging. This allows you to track humidity trends over time. Lastly, set up a basic display or connect the device to your phone for real-time updates. With these steps, you’ll maintain ideal humidity levels, preventing mold and improving air quality. Monitoring humidity this way helps you respond quickly to changes and ensures your indoor environment stays healthy. Incorporating sensor calibration techniques can further enhance the accuracy of your readings and ensure optimal air quality management.
Frequently Asked Questions
What Are the Best Filter Types for DIY Air Purifiers?
When choosing filters for your DIY air purifier, you want high filter efficiency to capture more pollutants and allergens. HEPA filters are excellent for this purpose, especially for fine particles. Also, consider filter lifespan—some filters last longer and save you money and maintenance time. Look for filters with durable materials and proper sealing to guarantee maximum efficiency and longevity, making your DIY project both effective and cost-efficient.
How Accurate Are Homemade Humidity Monitors?
Did you know homemade humidity monitors can be off by up to 15%? Their accuracy depends on proper sensor calibration and understanding the humidity range you’re measuring. While they offer a good estimate, DIY monitors aren’t as precise as commercial devices. You should regularly calibrate your sensor and stay within the recommended humidity range for reliable readings. This way, you can better control your indoor environment.
Can DIY Air Purifiers Remove All Indoor Pollutants?
DIY air purifiers can improve air quality, but they won’t remove all indoor pollutants. Their effectiveness depends on design, filter quality, and airflow. While a DIY humidity sensor helps monitor moisture levels, it doesn’t enhance air purification. You should understand that homemade purifiers may not match commercial models in filtering out allergens, VOCs, or pathogens. For ideal results, consider combining DIY solutions with professional air purification systems.
What Safety Precautions Should I Take During Construction?
Think of construction safety as your shield against unforeseen dangers. During DIY projects, you must prioritize construction safety by wearing protective gear, handling tools carefully, and working in well-ventilated areas. Be aware of DIY risks like electrical hazards or sharp objects. Always follow instructions, keep your workspace organized, and avoid rushing. These precautions guarantee you stay safe, prevent accidents, and complete your project confidently.
How Often Should I Clean or Replace DIY Purifier Filters?
For filter maintenance, you should check your DIY purifier filters every 2-4 weeks, depending on use and air quality. Replace or clean the filters when they appear dirty or clogged to guarantee maximum airflow and air purification. Follow a consistent replacement schedule, typically every 1-3 months, to prevent reduced efficiency. Regular maintenance keeps your DIY air purifier working effectively and improves indoor air quality.
Conclusion
Now that you’ve built your DIY air purifier and humidity monitor, you’re basically a superhero armed with household gadgets. Imagine transforming your living space into a pristine, fresh-air fortress—no more sneezing fits or musty odors. Who knew that a box fan and a bit of DIY ingenuity could turn your home into an air quality paradise? So go ahead, breathe easy, and revel in your glorious, homemade sanctuary—because fresh air is just a fan away.