
To boost your HVAC efficiency, start by identifying drafts with a candle or tissue, then seal gaps using weather stripping suited for your window design. Clean surfaces before applying adhesive strips or caulk to guarantee a tight seal. Combine weather stripping with caulk for larger gaps, and consider adding window film or curtains for extra insulation. These simple DIY tricks can make a noticeable difference—keep going to discover even more effective sealing tips!
Key Takeaways
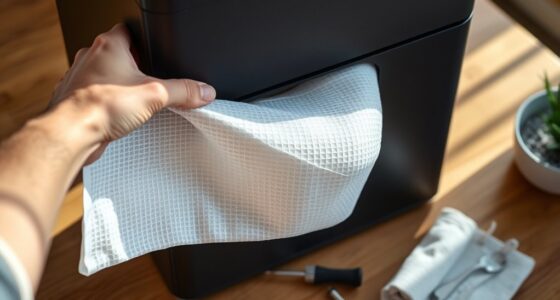
- Use a lit candle or tissue to identify drafts around window frames and edges.
- Apply weather stripping materials like foam tape or V-strip to seal gaps effectively.
- Seal larger cracks with high-quality caulk for comprehensive air leak prevention.
- Combine weather stripping with caulking for enhanced insulation and energy savings.
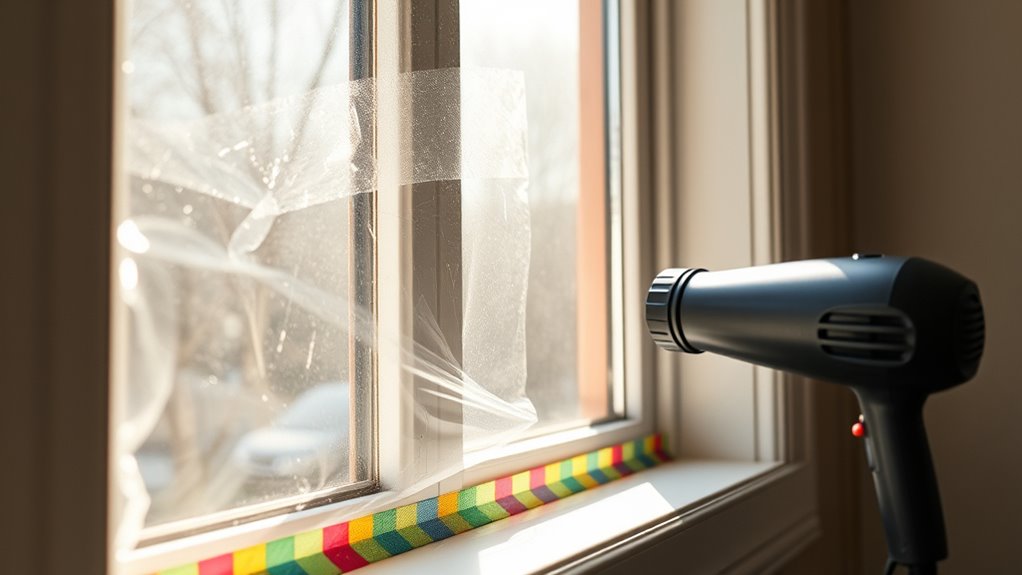
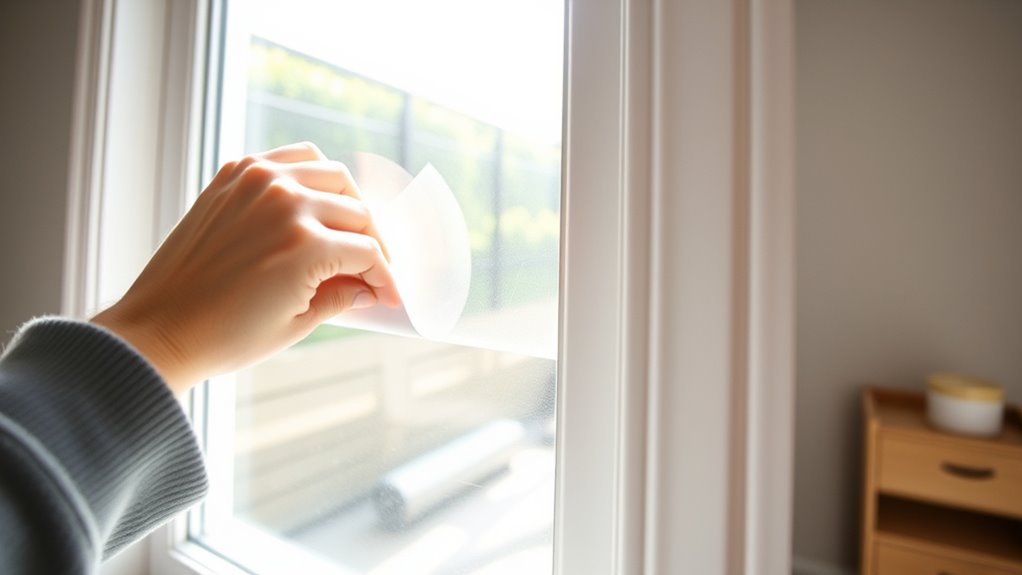
- Add window film or insulating curtains for extra protection against drafts and temperature loss.
Are drafts and chilly air making your home uncomfortable? If so, you’re not alone. Drafts can considerably decrease your HVAC system’s efficiency, causing your energy bills to skyrocket and making it harder to keep your home cozy. Luckily, there are simple DIY window sealing hacks that can make a noticeable difference. One of the best starting points is understanding drafting techniques and weather stripping methods. These tactics help you identify where the air leaks originate and how to seal them effectively.
Drafts and chilly air can lower your home’s comfort and efficiency—seal leaks easily with simple DIY tips.
First, you want to locate all the areas around your windows where air sneaks in. Common spots include gaps between the window frame and the sash, or cracks along the edges. To do this, hold a lit candle or a piece of tissue near the window frame and observe if the flame flickers or the tissue moves. This quick trick pinpoints drafts without the need for specialized tools. Once you’ve identified the leaks, you can select the appropriate weather stripping methods to seal them. There are various options, including adhesive-backed foam tape, V-strip weatherstripping, or rubber weather seals. Choose the type best suited for your window’s design and the size of the gaps. These weather stripping materials are affordable, easy to install, and highly effective at blocking out drafts.
When applying weather stripping, make sure to clean the surface thoroughly beforehand. Dirt and dust can prevent the adhesive from sticking properly. Measure the length of the gaps accurately, then cut the strips to fit snugly along the edges. Press firmly to ensure a good seal. For larger gaps, consider using a combination of weather stripping and caulking. Caulk is excellent for sealing cracks around the window frame and sill. Use a high-quality, flexible caulk designed for windows, and run a consistent bead along the gaps. Smooth it out with a caulking tool or your finger to create a tight seal. This combination of drafting techniques and weather stripping methods can dramatically improve your window insulation.
Beyond sealing, think about adding weatherproof window film or insulating curtains for extra protection. But the core idea is to prevent hot or cold air from slipping through those tiny gaps. With just a few simple steps, you can reduce draft issues, improve your home’s comfort, and make your HVAC system work more efficiently. Taking the time to identify leaks and properly seal them is a cost-effective way to save energy and stay warm or cool without constantly running your heater or AC. Ultimately, these DIY window sealing hacks empower you to control your indoor climate better and reduce unnecessary energy waste.
Frequently Asked Questions
How Often Should I Reapply Window Sealant for Optimal Results?
You should reapply window sealant every 1-2 years for ideal results. Seasonal maintenance helps maintain sealing longevity, preventing drafts and energy loss. Inspect your seals regularly, especially before winter and summer, to catch any cracks or wear. When you notice gaps or deterioration, it’s time for a fresh application. Consistent reapplication ensures your windows stay airtight, saving you energy and improving your home’s comfort year-round.
Can DIY Window Sealing Fix Drafts Caused by Structural Damage?
You can’t rely on DIY window sealing alone to fix drafts caused by structural damage. Structural issues require professional repair because they involve more than just sealing gaps; they affect the window frame and surrounding structure. Sealing may temporarily reduce drafts, but for a long-term solution, you need to address the root cause with proper draft repair and structural repairs. Otherwise, the drafts will likely return or worsen over time.
Are There Eco-Friendly Sealing Options Suitable for Indoor Use?
You’re wondering if eco-friendly sealing options are safe for indoor use. Yes, there are eco-friendly materials like beeswax, soy-based caulks, and plant-based foam that work well. These indoor-safe options are non-toxic, reduce chemical emissions, and are better for your health and the environment. Using such sustainable choices helps improve your home’s energy efficiency without compromising safety, making your space healthier and more eco-conscious.
What Tools Are Essential for a Professional-Looking Seal?
To achieve a professional-looking seal, you need a few essential tools. First, a caulking gun helps you apply sealant smoothly and precisely, preventing messes. Second, weatherstripping tape guarantees a tight, eco-friendly barrier around windows. These tools make your sealing job look neat and last longer. With a steady hand and the right equipment, you’ll improve your window’s efficiency and enjoy better indoor comfort.
How Do I Measure Window Gaps Accurately for Sealing?
Think of measuring window gaps as a treasure hunt—precision is key. Use a ruler or measuring tape for accuracy, applying measuring techniques like gently pressing the tape into the gap to gauge its width. For larger gaps, a piece of cardboard or a dollar bill can help with gap assessment. Always double-check your measurements to confirm your seal will be snug and effective, saving you energy and money.
Conclusion
So, next winter, enjoy the cozy warmth inside while your DIY window seals keep the cold out—because nothing says “smart homeowner” like taping plastic over your windows and calling it a day. You’ll save on energy bills, all while pretending you’re a pro at home repairs. Who knew that a little caulk and some weatherstripping could turn your house into a fortress? Ironically, the simplest hacks often make the biggest difference—without the fancy tools!