
Setting up a DIY dust control zone helps keep your home clean and safe during small projects. You can create a dedicated area with barriers, use HEPA air purifiers nearby, and improve airflow with ventilation. Sealing the space and monitoring air quality make dust containment more effective. This approach not only simplifies cleanup but also protects your indoor air. Want to know how to set up your own dust control zone? Keep going.

Get home appliances delivered free with Prime
- Fast, free delivery on millions of items
- Prime Video, Amazon Music and more included
- Member-only deals all year
Key Takeaways
- Creating a dedicated, sealed workspace minimizes dust spread throughout the home during small projects.
- Using portable HEPA air purifiers effectively captures airborne dust particles, improving indoor air quality.
- Strategic placement of ventilation and exhaust fans directs dust outside, reducing indoor contamination.
- Proper sealing and airflow management prevent dust escape and facilitate easier cleanup afterward.
- Monitoring and adjusting filtration and ventilation ensure continuous dust control and a healthier environment.
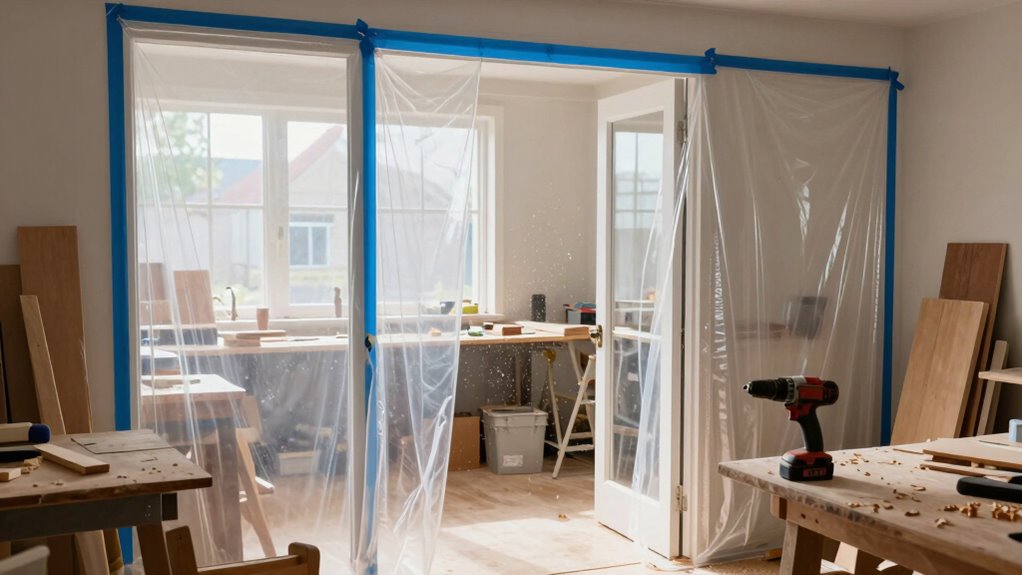
Creating a DIY dust control zone is a simple yet effective way to keep your workspace clean and safe. When you’re tackling small projects, dust and debris can quickly become a problem, spreading throughout your home and settling into every corner. Setting up a dedicated dust control zone helps contain those particles, making cleanup easier and reducing the risk of respiratory irritation. To do this effectively, you’ll want to focus on air filtration and ventilation strategies. Proper air filtration removes airborne dust before it has a chance to settle, while good ventilation ensures fresh air circulates into the workspace, pushing contaminated air out.
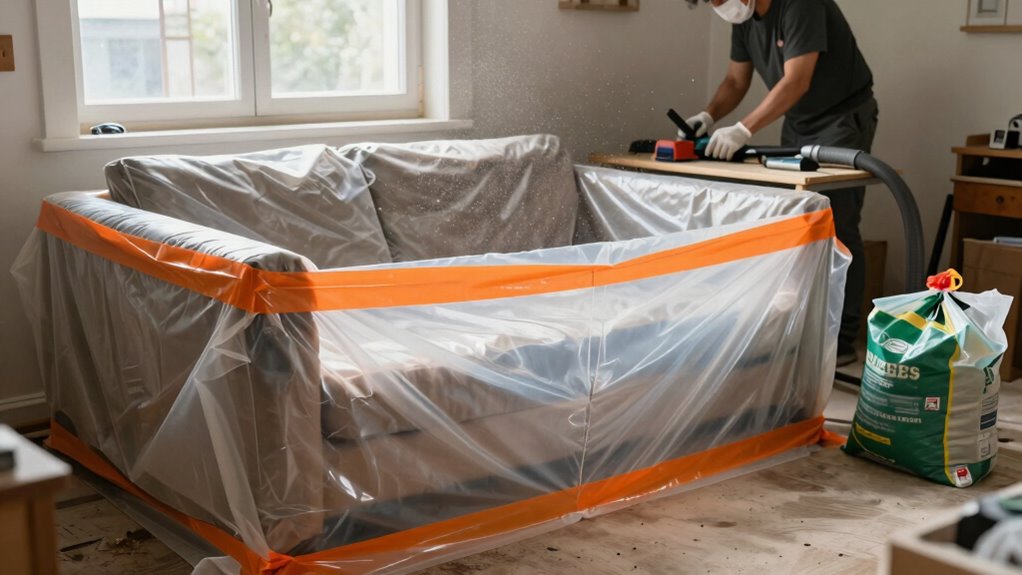
Start by choosing an area that can be easily isolated from the rest of your home. Once you’ve picked your spot, set up barriers like plastic sheeting or temporary walls to contain dust. This physical separation is the first step in creating an effective DIY dust control zone. Next, incorporate air filtration devices, such as portable HEPA air purifiers, into your setup. These units trap tiny dust particles, considerably improving air quality during and after your project. Make sure to place the purifier strategically—near the dust source but with enough space for ideal airflow. Regularly replace filters to maintain efficiency.
Ventilation strategies are equally important. Open windows and doors to increase airflow, but ensure that outside air is clean and not bringing in more dust or pollutants. Using exhaust fans directed outdoors can help pull contaminated air away from your workspace. If you’re working indoors, consider installing a temporary ventilation system that expels dust-laden air outside. This continuous exchange of air prevents dust from accumulating and ensures a healthier environment. Keep in mind that good ventilation also helps reduce humidity, which can cause dust particles to settle more rapidly, making cleanup easier. Additionally, understanding air filtration and how it impacts indoor air quality is essential for maintaining a safe workspace. Incorporating proper sealing techniques further minimizes dust escape, ensuring that particles stay contained within the zone. Using airflow management to direct dust away from sensitive areas can significantly improve overall cleanliness.
Throughout your project, monitor the effectiveness of your air filtration and ventilation. Adjust the placement of purifiers and fans as needed to enhance airflow and dust removal. After finishing, leave the filtration devices running for a while to clear residual airborne particles. Properly sealing and ventilating your dust control zone minimizes dust escape, protecting your home’s air quality and your health. With these simple air filtration and ventilation strategies, you create a safer, cleaner space that makes small projects less messy and more manageable. This setup not only saves you time on cleanup but also keeps your environment healthier during every step of your DIY work.
HEPA air purifier for dust removal
As an affiliate, we earn on qualifying purchases.
As an affiliate, we earn on qualifying purchases.
Frequently Asked Questions
How Effective Is a DIY Dust Control Zone Compared to Professional Systems?
A DIY dust control zone can be fairly effective if you focus on dust containment and air filtration. It may not match professional systems’ efficiency but considerably reduces airborne dust during small projects. You should seal off the work area, use plastic sheeting, and install a portable air purifier to improve air quality. While not as extensive, a DIY setup is a practical, budget-friendly way to protect your home from dust.
What Materials Are Safest for Creating a Dust Control Zone?
You should prioritize air filtration and material safety when creating a dust control zone. Use high-efficiency particulate air (HEPA) filters to trap airborne dust effectively. Opt for non-toxic, low-VOC materials like painter’s plastic, eco-friendly tapes, and lightweight barriers to guarantee safety. Avoid sharp or hazardous items, and always choose materials that won’t release harmful fumes or particles, keeping your environment safe and clean during your project.
Can a DIY Dust Control Zone Be Reused for Multiple Projects?
Did you know that reusable dust containment setups can cut your cleanup time by up to 50%? Yes, your DIY dust control zone can be reused for multiple projects if you maintain proper air filtration and clean the materials thoroughly between uses. Just guarantee the containment barrier remains intact and the air filtration system is functioning well. This way, you save money and keep your workspace safe for ongoing projects.
How Long Does It Take to Set up a DIY Dust Control Zone?
Setting up a DIY dust control zone takes about 15 to 30 minutes, depending on your project size and planning. You’ll want to focus on effective dust containment measures like sealing doors and vents, setting up plastic barriers, and positioning fans or air filters. Good project planning helps streamline this process, ensuring you cover all entry points and create a safe, dust-free environment efficiently.
Are There Any Safety Concerns With Homemade Dust Barriers?
Your homemade dust barrier isn’t a magic shield—there are safety concerns. Ventilation hazards can trap dust and fumes, risking respiratory issues. Also, be cautious of material toxicity; some paints or sealants release harmful chemicals. Always guarantee proper ventilation, use non-toxic materials, and wear protective gear. Ignoring these risks could turn your project into a disaster, risking your health and home safety. Stay vigilant and prioritize safety!
portable dust containment barriers
As an affiliate, we earn on qualifying purchases.
As an affiliate, we earn on qualifying purchases.
Conclusion
By building a DIY dust control zone, you block bothersome debris and breathe easier during small projects. With a simple setup, you shield your space from sneaky particles and save yourself from sweeping up messes later. Think of it as your personal protector, creating a clean, calm, and clutter-free zone. So, seal, secure, and safeguard your sanctuary—making DIY dust control your delightful, decisive defense against dust disasters!
As an affiliate, we earn on qualifying purchases.
As an affiliate, we earn on qualifying purchases.
Evergreen bestsellers Picks
bestsellers
As an affiliate, we earn on qualifying purchases.