
To clean and descale your humidifier, unplug it first and carefully disassemble all parts, including the water tank and filter. Empty the water tank, rinse thoroughly, and then prepare a solution of vinegar and water or mild soap. Scrub all components gently with a soft brush, focusing on corners and deposits. Rinse all parts well, reassemble, and test for proper operation. Following these steps regularly helps maintain efficiency—keep going to learn more detailed tips.
Key Takeaways
- Always unplug and disassemble the humidifier carefully, removing the water tank and components as per manufacturer instructions.
- Use a mixture of vinegar and water to descale mineral deposits, soaking for 30 minutes before scrubbing.
- Rinse all parts thoroughly with clean water to remove residues and prevent buildup.
- Dry all components completely before reassembling to prevent mold and bacteria growth.
- Schedule regular cleaning every one to two weeks to maintain optimal performance and air quality.
Unplug and Disassemble Your Humidifier
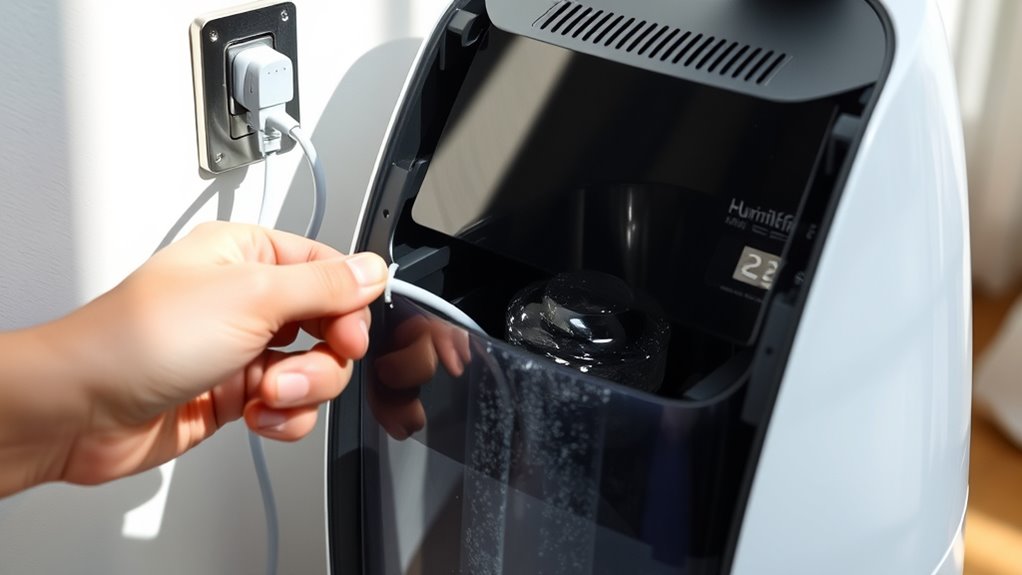
Before you begin cleaning, always unplug your humidifier to guarantee safety. This step is essential for electrical safety and prevents accidental shocks. Carefully disassemble the unit by removing the water tank and other removable parts, following the manufacturer’s instructions. Proper handling during disassembly reduces the risk of damage to delicate components. Handle all parts gently to avoid cracks or breakage. Keep track of small pieces to ensure easy reassembly. Make sure your hands are dry to avoid slipping or electrical hazards. If your humidifier has electrical cords or plugs, inspect them for wear or damage before proceeding. Taking these precautions ensures you work safely and efficiently, setting a solid foundation for a thorough cleaning process. Additionally, understanding the importance of proper maintenance can help extend the lifespan of your humidifier and ensure optimal performance.
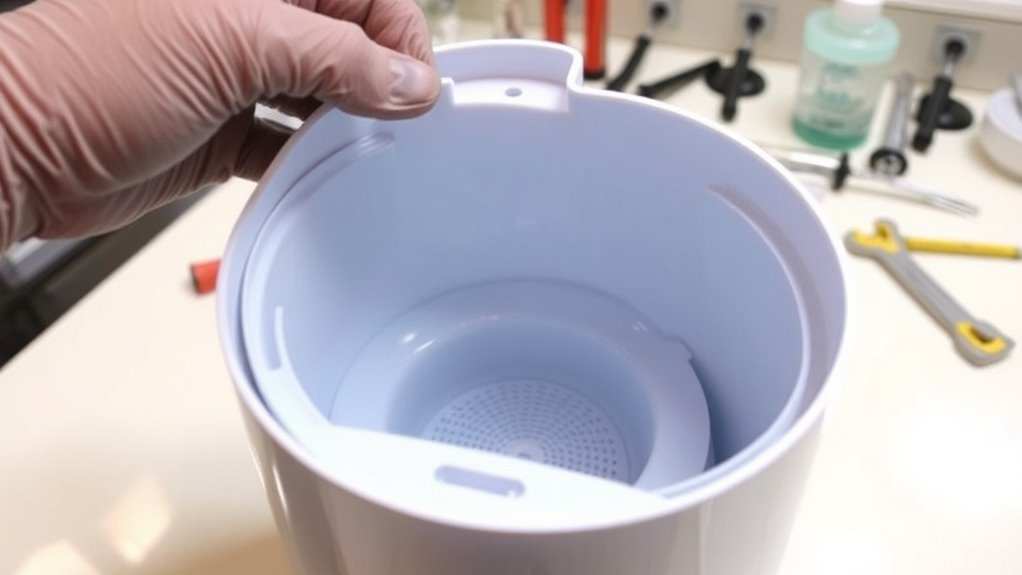
Empty and Rinse the Water Tank

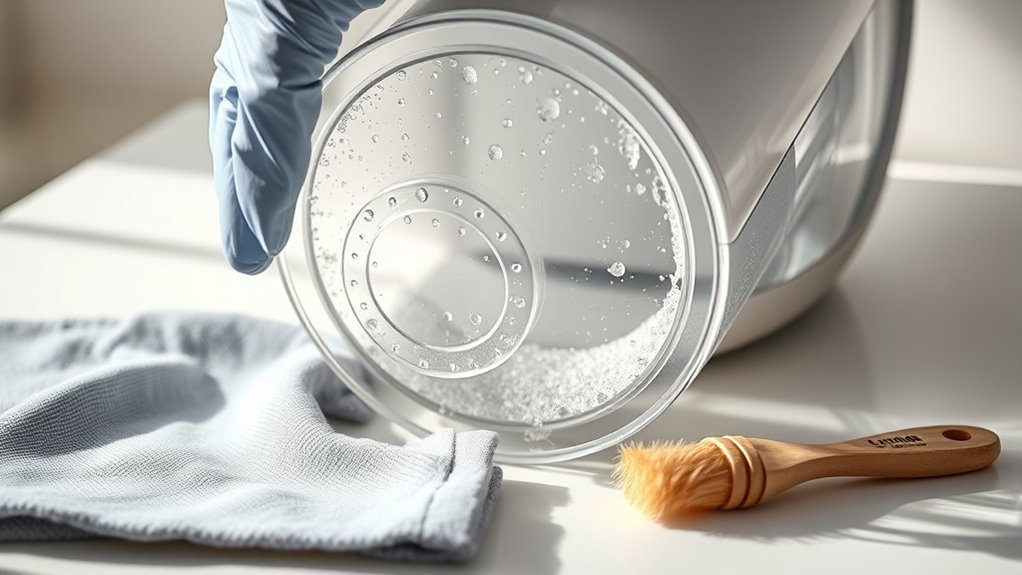
To start cleaning your humidifier, begin by emptying the water tank completely. This helps remove any residual water that could harbor bacteria or mold, especially if the water quality has declined. Rinse the tank thoroughly with clean water, swirling gently to loosen any deposits. Be sure to reach all corners to prevent buildup. Check the storage capacity of your humidifier; a larger tank means more water to rinse and more potential for residue if not cleaned regularly. Proper rinsing guarantees no lingering mineral deposits or impurities remain, which can affect performance and air quality. After rinsing, shake out excess water and set the tank aside to dry or prepare for the next cleaning step. This simple step lays the foundation for effective humidifier maintenance. Regular cleaning also helps prevent bacterial growth, ensuring healthier air quality during use.
Prepare a Cleaning Solution
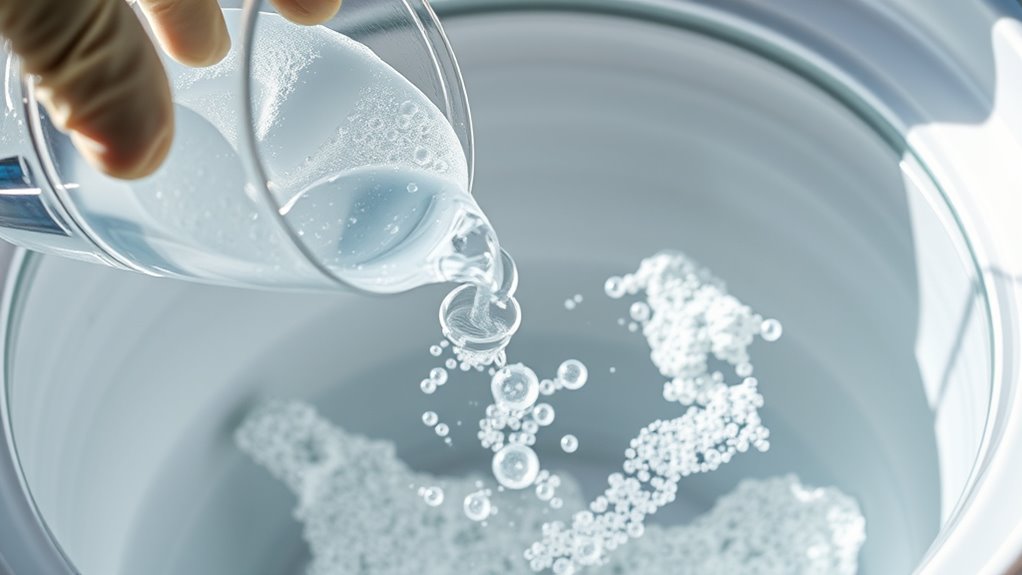
Preparing a cleaning solution is a crucial step in maintaining your humidifier’s performance and ensuring clean air. To do this effectively, start by selecting appropriate cleaning agents, such as white vinegar or mild dish soap. Solution preparation involves mixing these agents with water in the right proportions—usually equal parts vinegar and water or a small amount of soap diluted in water. Make certain the cleaning solution is thoroughly combined for maximum effectiveness. Using the correct solution preparation helps break down mineral deposits and bacteria without damaging your humidifier’s components. Avoid overly concentrated mixtures, which could cause damage or leave residues. Additionally, understanding the effectiveness of natural cleaners can guide you toward safer and environmentally friendly options. Once your cleaning solution is ready, you’re set for the next step in cleaning your humidifier thoroughly and safely.
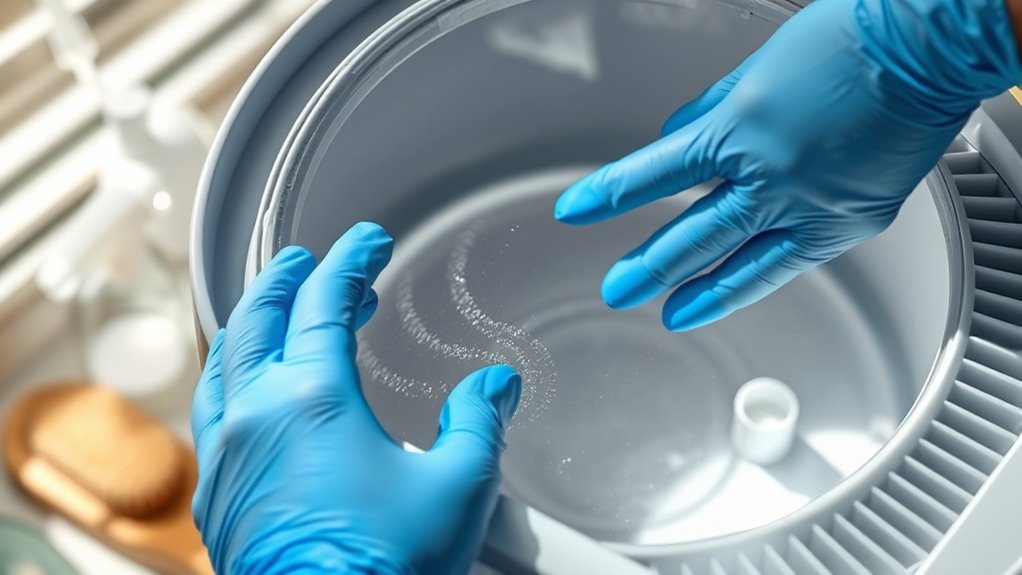
Scrub the Tank and Components
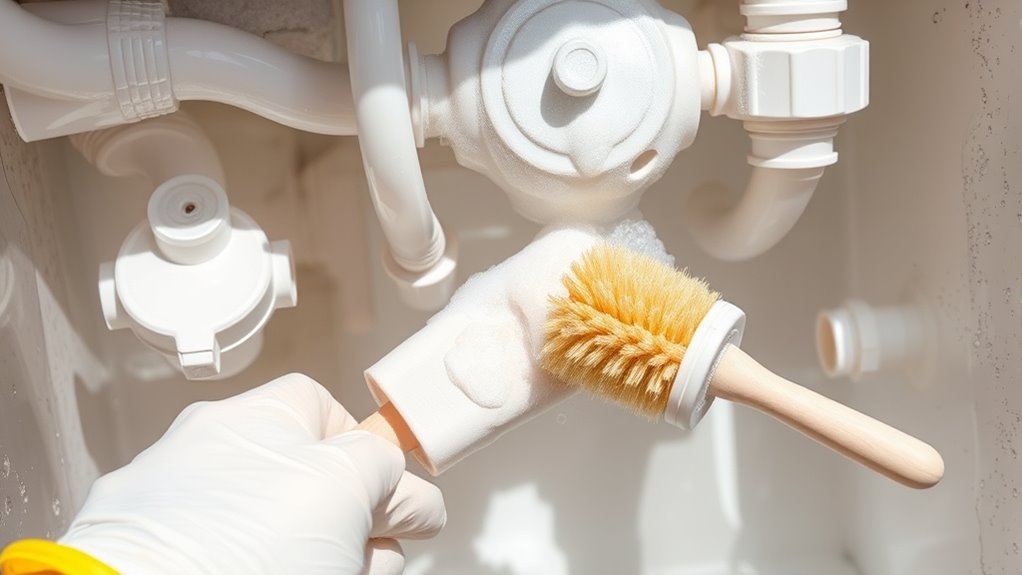
Once your cleaning solution is ready, use it to scrub the tank and other components of your humidifier. Proper tank maintenance and component cleaning prevent mold buildup and guarantee peak performance. Use a soft brush or cloth to reach all surfaces, focusing on corners and crevices. For thorough cleaning, consider this table:
| Part | Cleaning Method | Tips |
|---|---|---|
| Water Tank | Scrub with a brush and cleaning solution | Rinse thoroughly to remove residue |
| Air Filter | Remove and wash with mild soap | Let dry completely before reinstall |
| Fan Blades | Wipe gently with a damp cloth | Avoid bending the blades |
| Water Basin | Use a scrubbing brush for stubborn deposits | Regularly inspect for mold |
This step ensures your humidifier stays clean and functions efficiently. Regular cleaning of these components aligns with best practices for maintaining optimal air quality and prolonging your device’s lifespan.
Descale Mineral Deposits With Vinegar
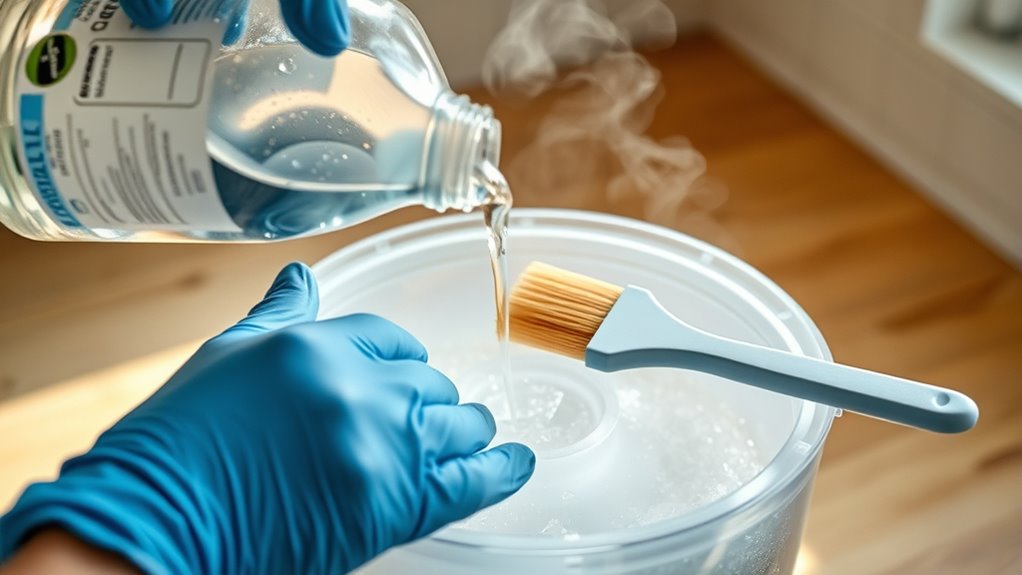
Mineral deposits from hard water can quickly build up in your humidifier, reducing its efficiency and potentially causing damage. To tackle this mineral buildup, vinegar is a highly effective solution. Fill the water tank with equal parts white vinegar and water, ensuring all mineral-laden surfaces are submerged. Let it sit for about 30 minutes to break down the deposits. Vinegar’s acidity enhances its effectiveness in dissolving mineral buildup, making it easier to remove stubborn deposits. After soaking, use a soft brush or cloth to scrub away loosened deposits. Be sure to focus on areas with significant buildup. Regularly cleaning your humidifier not only helps maintain optimal performance but also extends its lifespan, ensuring it continues to operate smoothly without mineral-related issues.
Rinse Thoroughly to Remove Residues
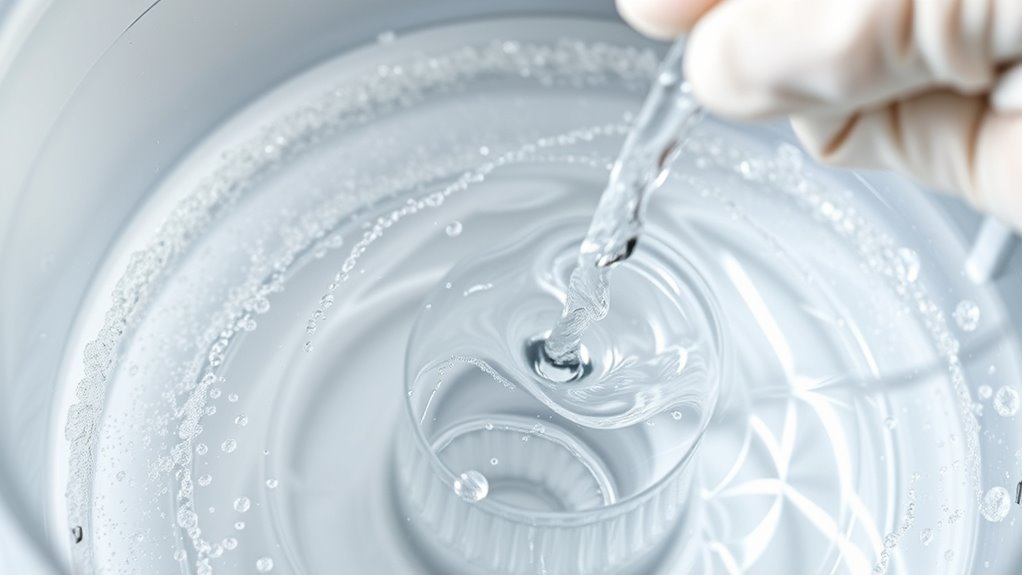
After soaking your humidifier in vinegar, it’s essential to rinse it thoroughly to remove any remaining residues. Proper residue removal ensures no vinegar or mineral deposits are left behind, which could affect performance. To do this effectively:
Thorough rinsing after vinegar soaking prevents residue buildup and keeps your humidifier operating smoothly.
- Fill the tank with clean water and swirl it around to loosen residues.
- Use a soft brush or cloth to gently scrub hard-to-reach areas.
- Empty the water, then repeat the rinse process until the water runs clear.
Make sure you rinse thoroughly, paying attention to all parts that came into contact with vinegar. This step guarantees all residues are removed, preventing buildup and ensuring your humidifier operates smoothly and safely. Proper rinsing keeps your device clean and ready for use.
Clean the Filter and Other Parts
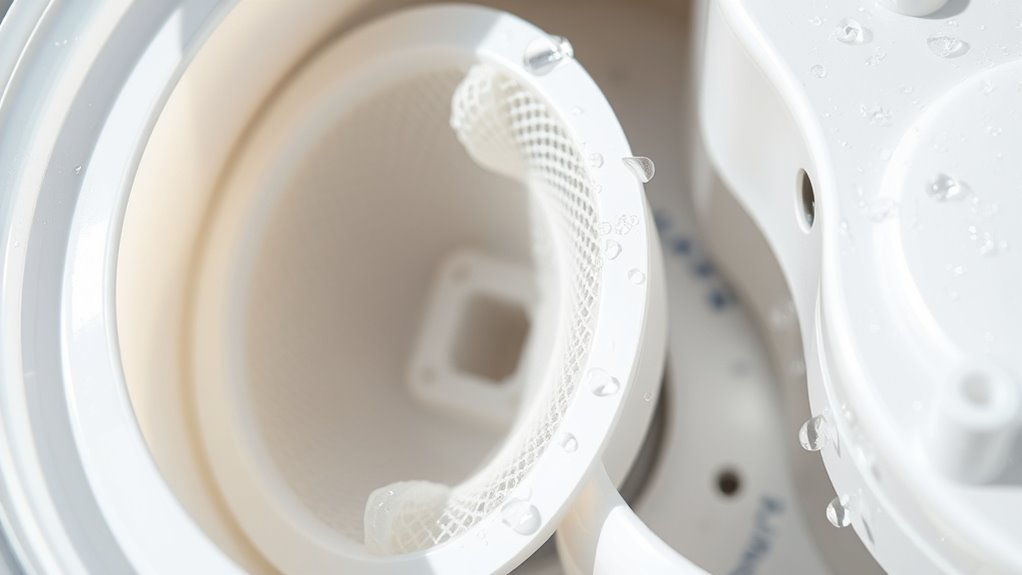
Start by removing the filter and inspecting it for dirt or damage. Wash all components thoroughly with mild soap and water, paying attention to hard-to-reach areas. Before reassembling, make sure everything is completely dry to prevent mold and guarantee proper operation. Regular maintenance, including filter replacement, ensures continued efficiency and air quality.
Remove and Inspect Filter
To make certain your humidifier functions properly, remove the filter and inspect it for dirt, mold, or mineral buildup. This step is crucial for effective filter maintenance. Use an inspection checklist to ensure thorough evaluation. Here’s what you should do:
- Check for visible dirt, mold, or mineral deposits on the filter surface.
- Look for any signs of damage or wear that might affect performance.
- Confirm that the filter fits securely and isn’t overly clogged.
If you notice any issues, replace the filter if necessary. Regular inspection helps prevent mold growth and guarantees ideal air quality. Remember, a clean filter improves efficiency and prolongs your humidifier’s lifespan. Always perform this step as part of your filter maintenance routine.
Wash Components Thoroughly
Cleaning your humidifier’s components thoroughly guarantees it operates efficiently and maintains good air quality. Start by removing the filter and other parts, then wash them with warm water and a gentle brush. Use a mild detergent or vinegar solution to break down any residue or mineral deposits. Be sure to scrub all surfaces, including corners and vents, to remove buildup that could hinder moisture output. Rinse everything well to avoid lingering soap or cleaning solution, which can affect air quality. Properly cleaned components ensure your humidifier can deliver consistent moisture levels without releasing contaminants into the air. This step helps prevent mold, bacteria, and mineral buildup, keeping your air clean and comfortable while maintaining optimal humidity. Additionally, regularly verifying that your humidifier components are free of contaminants can help ensure the safety and effectiveness of your device.
Dry Before Reassembly
After washing your humidifier’s components, it’s important to dry them thoroughly before reassembling. Proper drying prevents moisture evaporation issues and guarantees ideal airflow. To do this effectively:
- Gently shake off excess water from the filter and parts.
- Use a clean towel or air dry in a well-ventilated area to eliminate residual moisture.
- Confirm all parts are completely dry before reassembling to prevent mold growth and maintain airflow optimization.
Taking these steps ensures your humidifier functions efficiently. Dry components allow for better moisture evaporation control and prevent clogs that could hinder airflow. This not only prolongs the lifespan of your device but also guarantees it works at peak performance when you turn it back on.
Reassemble and Test the Humidifier
Once you’ve thoroughly cleaned and descaled your humidifier, it’s time to carefully reassemble it. Make sure all parts are dry and properly aligned before putting everything back together. Secure the tank, filter, and any other components according to your manufacturer’s instructions. Proper reassembly is essential for ideal humidifier maintenance and ensuring good air quality in your space. You should also verify that proper cleaning techniques are followed to prevent mold and bacteria buildup. Once assembled, fill the tank with clean water and turn the unit on. Check for leaks or unusual noises, and observe its operation to confirm it’s working correctly. Testing your humidifier after cleaning guarantees it runs efficiently and safely, helping to maintain healthy air quality. Regularly reassembling and testing your device prevents mold buildup and keeps your environment comfortable and safe.
Establish a Regular Cleaning Schedule
To keep your humidifier functioning effectively and prevent mold or mineral buildup, establishing a regular cleaning schedule is essential. This helps maintain air quality and prolongs your device’s lifespan. Here are some maintenance tips to set up your schedule:
- Set scheduling reminders on your phone or calendar to clean weekly or biweekly.
- Keep a cleaning log to track when you last cleaned and descale your humidifier.
- Adjust cleaning frequency based on usage, water quality, and manufacturer recommendations.
- Using an airless paint sprayer for cleaning certain components can make the process quicker and more thorough.
Frequently Asked Questions
How Often Should I Clean My Humidifier for Optimal Performance?
You should clean your humidifier at least once a week to maintain proper hygiene and guarantee ideal performance. Following a regular maintenance schedule prevents mold, bacteria, and mineral buildup. If you use it daily, consider more frequent cleaning, especially during cold and flu season. Proper hygiene is key to healthy air quality, so don’t skip routine cleanings. Staying consistent keeps your humidifier running efficiently and safely.
Can I Use Bleach Instead of Vinegar for Descaling?
You might wonder about bleach vs vinegar for descaling your humidifier. While bleach is a strong disinfectant, it’s not recommended because it can damage parts and leave harmful residues. Vinegar is a safer descaling alternative, effectively breaking down mineral buildup without harsh chemicals. For best results, stick with vinegar or specialized descaling solutions, and avoid using bleach unless explicitly advised by the manufacturer.
What Are Signs My Humidifier Needs Cleaning or Descaling?
Like a canary in a coal mine, your humidifier signals when it needs attention. If you notice mold growth or a foul odor, it’s a clear sign to clean and descale. These issues indicate bacteria and mold are thriving, which can impact air quality. Regular maintenance prevents buildup, ensuring your humidifier functions efficiently and keeps your indoor air fresh and healthy.
Is It Safe to Run the Humidifier Immediately After Cleaning?
You might wonder if it’s safe to run your humidifier immediately after cleaning. Generally, you should wait for safety precautions and drying time to guarantee all parts are completely dry and free of cleaning residues. Rushing can cause mold or bacteria growth. Follow the manufacturer’s instructions for drying time, and only turn it on once you’re confident it’s fully dry, promoting safe operation and better air quality.
Are There Specific Cleaning Products Recommended for Different Humidifier Models?
Did you know that using the wrong cleaning products can damage your humidifier? For ideal humidifier cleaning, always check your model’s manual for product recommendations. Many units require gentle, non-abrasive cleaners or vinegar, while others might need specific solutions. Using the right products ensures effective cleaning without harming your device. So, always follow manufacturer guidelines to keep your humidifier running smoothly and safely.
Conclusion
Remember, a clean humidifier breathes easy—its gentle mist whispering purity into your space. As you reassemble it, picture each part coming to life, refreshed and ready to serve. Regular cleaning keeps mineral deposits at bay, ensuring your air stays crisp and healthy. With each careful step, you’re restoring its harmony—a steady rhythm of care that keeps your environment fresh, cozy, and inviting, day after day.