
To make a homemade vaporizer for congestion relief, start with a heat-resistant bowl filled with hot water and add natural remedies like eucalyptus or peppermint oils. Place the bowl on a stable surface and drape a towel over it to trap warm vapor. Sit comfortably with your face at a safe distance, inhaling deeply for 10-15 minutes. Guarantee safety and proper setup, and you’ll discover simple steps to ease congestion effectively.

Get home appliances delivered free with Prime
- Fast, free delivery on millions of items
- Prime Video, Amazon Music and more included
- Member-only deals all year
Key Takeaways
- Use heat-resistant bowls filled with hot water and add natural remedies like eucalyptus or peppermint oils.
- Cover the bowl with a towel or blanket to trap warm vapor for inhalation.
- Position your face at a safe distance to enjoy the steam without burns, and keep the setup stable.
- Limit vapor sessions to 10-15 minutes and take breaks to prevent overheating or dehydration.
- Always handle hot water carefully and never leave the setup unattended to ensure safety.

If you’re looking for quick relief from congestion without heading to the store, making a homemade vaporizer can be an effective solution. This approach taps into DIY remedies and natural therapies, giving you a simple, cost-effective way to ease nasal congestion. You don’t need any fancy equipment—just a few household items and some basic safety precautions. The goal is to create a device that produces warm, moist vapor to soothe irritated nasal passages and loosen mucus.
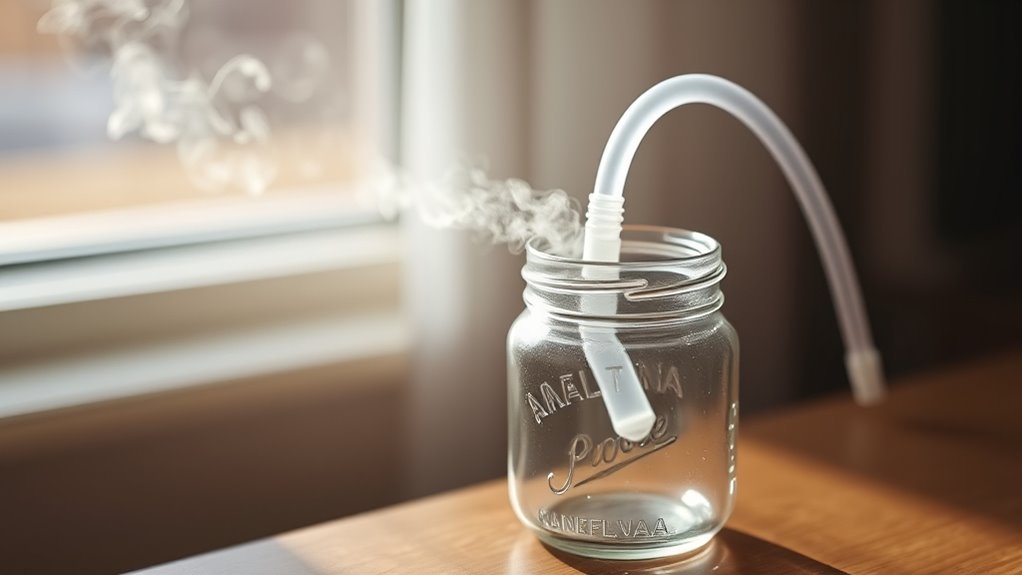
Start by selecting a heat-resistant container, like a large ceramic or glass bowl. Fill it with hot water—just enough to cover the bottom. You can enhance the vapor’s effectiveness by adding natural remedies such as eucalyptus oil, peppermint extract, or tea tree oil. These essential oils have decongestant properties and support respiratory health, making your homemade vaporizer more potent. Be cautious when handling hot water to avoid burns and keep the setup stable on a flat surface.
Choose a heat-resistant bowl, add hot water, and enhance with eucalyptus, peppermint, or tea tree oils for natural congestion relief.
Next, you’ll need a way to create a breathing conduit. A common method involves using a large towel or blanket to form a tent over the bowl. Drape it loosely over your head and the container, creating a sealed environment that traps the warm, moist air. This setup allows you to breathe in the vapor comfortably without losing too much heat. Keep your face at a safe distance from the water to prevent burns but close enough to inhale the steam deeply. The steam’s heat and humidity help soothe inflamed nasal tissues, reduce swelling, and loosen mucus, providing fast relief.
To maximize the benefits, you can add herbs like chamomile or rosemary to the hot water, which act as natural therapies for respiratory comfort. Just drop a few leaves or a small handful into the water before heating. Remember, always stay mindful of the temperature—if the steam feels too hot or causes discomfort, move your face back slightly. Limit each session to about 10-15 minutes, and take breaks in between to prevent overheating or dehydration. Drinking warm fluids afterward can enhance the decongestant effects.
Creating your own vaporizer is a practical way to harness natural therapies at home. It’s inexpensive, easy to assemble, and customizable based on the remedies you prefer. By incorporating essential oils and herbs, you boost the therapeutic effects of your DIY remedy. Just ensure safety remains a priority—never leave the setup unattended while in use, and be cautious with hot water and steam. With a bit of effort, you can find quick, natural relief from congestion whenever you need it, all from the comfort of your home.
Products Worth Considering

Arlo Essential Wireless Security Camera 2K (3rd Gen), 3-Camera Set with Yard Sign

Bose Lifestyle Ultra Wireless Home Speaker, White Smoke

Samsung 43-Inch M70H Series 4K Mini LED Smart TV (2026)
As an affiliate, we earn on qualifying purchases.
Frequently Asked Questions
Can Homemade Vaporizers Effectively Treat All Types of Congestion?
Homemade vaporizers aren’t effective for all congestion types because DIY effectiveness varies. They work best for nasal and sinus congestion by moistening airways, but may not help with chest or bronchial congestion caused by infections or asthma. You should consider consulting a healthcare professional for persistent or severe symptoms. While DIY methods can provide temporary relief, they aren’t a substitute for proper medical treatment for all congestion types.
Are There Any Safety Risks With DIY Vaporizer Devices?
Using a homemade vaporizer does pose safety risks, so don’t forget your manners—think of it as a Victorian ball! You must prioritize electrical safety by ensuring wiring is secure and insulated to prevent shocks or fires. Ingredient safety is essential too; use only safe, non-toxic substances, and avoid anything that could irritate your lungs. Always test your device carefully before regular use to avoid accidents or health hazards.
How Often Should I Use a Homemade Vaporizer for Congestion?
You should use your homemade vaporizer for congestion as needed, typically no more than 2-3 times daily. Pay attention to your symptom duration and how your body responds; if congestion persists beyond a few days, consult a healthcare professional. Avoid overuse, as excessive vaporizing can irritate your respiratory system. Use it intermittently, and stop if you experience discomfort or worsening symptoms.
What Are the Best Natural Ingredients to Use in Homemade Vaporizers?
If you think natural ingredients might not work, think again. The best options for homemade vaporizers include essential oils like eucalyptus, peppermint, and tea tree, which help clear congestion. Herbal infusions such as chamomile or thyme also soothe your airways. These ingredients create a calming, effective vapor that eases breathing. Just add a few drops of essence or herbs to your vaporizer, and breathe deeply for relief.
Can Homemade Vaporizers Be Portable for Travel Use?
Yes, homemade vaporizers can be designed to be portable for travel convenience. You can create a small, lightweight device with a portable design, making it easy to carry in your bag or pocket. Focus on using compact heating elements and simple assembly to guarantee ease of use on the go. Just make sure your homemade vaporizer is safe, reliable, and meets your needs for congestion relief during travel.
Conclusion
So, who knew that battling congestion could be as simple as DIY-ing your own vaporizer? Turns out, you don’t need fancy gadgets or pricey meds—just a little ingenuity and some household items. Just be careful with those hot steam clouds; after all, you wouldn’t want to turn your homemade fix into a fiery disaster. But hey, at least now you can say you’ve got the coolest, most resourceful congestion remedy around—who needs store-bought anyway?