TL;DR
Acoustic dampening in a closet isn’t just about foam—it’s about placement, sealing gaps, and managing heat. Moving your rig into a closet can drastically reduce noise, but proper ventilation is key. Combining these strategies creates a quiet, safe space for your setup.
Ever tried recording in a tiny closet? It’s a game changer. The space becomes your personal sound booth, but only if you tame the echoes and keep your rig cool. Many think foam and blankets do the trick, but the real magic lies in placement and sealing.
This guide reveals how moving your rig into a closet can cut noise dramatically—and how to do it without cooking your hardware. It’s about smart tweaks, not just buying more foam.
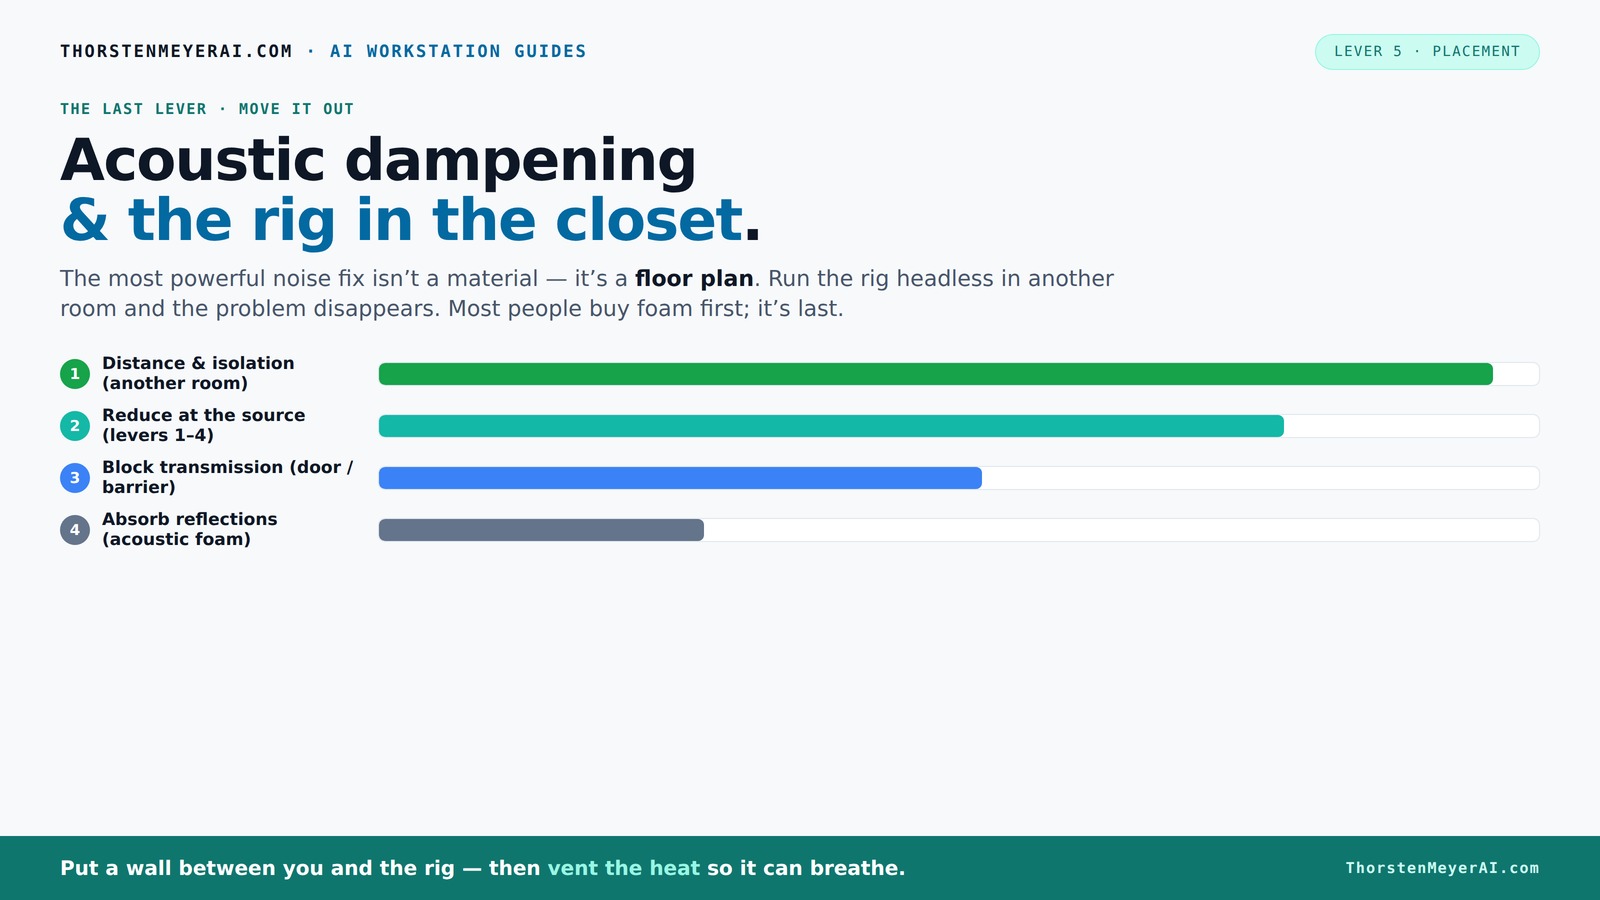
Acoustic dampening
& the rig in the closet.
The most powerful noise fix isn’t a material — it’s a floor plan. A rig you can’t hear because it’s in another room beats any amount of foam. Tap the approaches in Part 1 to see what actually works.
(another room)
(levers 1–4)
(door / barrier)
(acoustic foam)
Contain the noise, not the heat
Key Takeaways
- Sealing gaps around doors and vents is more effective than just adding foam panels.
- Place acoustic treatment at reflection points—behind the mic, ceiling, and door areas—for maximum effect.
- Ventilation in a closet rig is crucial; passive vents or quiet exhaust fans keep hardware cool without noise.
- Use thicker panels (4-inch) for bass trapping in larger or highly reflective small rooms.
- Position your mic close and aim it away from reflective surfaces for clearer recordings in tiny spaces.

Focusound 52 Pack Acoustic Foam Panels 1" x 12" x 12" Sound Proof Foam Panles Soundproofing Noise Cancelling Wedge Panels for Home Office Recoding Studio with 300PCS Double-Side Adhesive
Soundproofing - Acoustic foam panels triangular grooves structure for better noise absorption, helps to reduce and absorb unwanted...
As an affiliate, we earn on qualifying purchases.
As an affiliate, we earn on qualifying purchases.
Why Acoustic Dampening Isn’t the Same as Soundproofing
Acoustic dampening reduces echoes and reflections inside your space, making your recordings clearer. Soundproofing, on the other hand, blocks noise from leaking out or in. Foam panels and blankets mainly absorb sound waves bouncing around, but they won’t stop noise from escaping through gaps or vibrating through walls.
Understanding this distinction is crucial because many assume foam alone will isolate their sound environment. In reality, if your goal is to prevent noise from bothering neighbors or outside spaces, sealing gaps and adding mass to walls is essential. Without these measures, sound can easily leak through small openings, undermining your efforts. The tradeoff is that soundproofing typically requires more effort and cost but results in a more isolated environment, whereas dampening improves clarity within a space.

TroyStudio Portable Vocal Booth, Large Foldable Microphone Isolation Shield, Music Recording Studio Sound Echo Absorbing Box, Desk & Stand Use Reflection Filter with Thickened Dense Acoustic Foam
【BASIC INFO】: Inside size after setup: 8'' (L) X 10'' (W) X 12'' (H), large space for various...
As an affiliate, we earn on qualifying purchases.
As an affiliate, we earn on qualifying purchases.
How to Place Acoustic Panels for the Best Sound Control
Placement beats coverage when it comes to acoustic panels. Start by identifying reflection points—these are spots where sound bounces directly into your mic. Common points include the wall behind your mic, the ceiling, and side walls facing the source.
In a closet, improper placement can lead to uneven sound treatment, where some reflections are controlled while others persist. By carefully locating these reflection points, you prevent sound waves from bouncing directly into your mic, which causes harshness and muddiness. Using a mirror trick—position yourself with your back to the mic and move a mirror along the walls—helps identify exactly where reflections occur. Strategically placing panels on these spots ensures maximum absorption with minimal material, which is vital in small spaces where over-treatment can deaden sound unnaturally. Proper placement enhances clarity and reduces the need for excessive coverage, saving space and money.
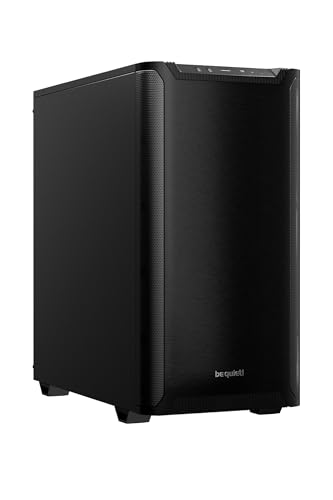
be quiet! Pure Base 501 Black ATX Case | 2 Preinstalled Pure Wings 3 140mm PWM Fans | Optimized Air Pressure | Compact PC Case | Vertical GPU Installation | USB 3.2 Gen. 2 Type C | BG073
Without any distractions, Pure Base 501 is reduced to excel at its core functions and is aimed at...
As an affiliate, we earn on qualifying purchases.
As an affiliate, we earn on qualifying purchases.
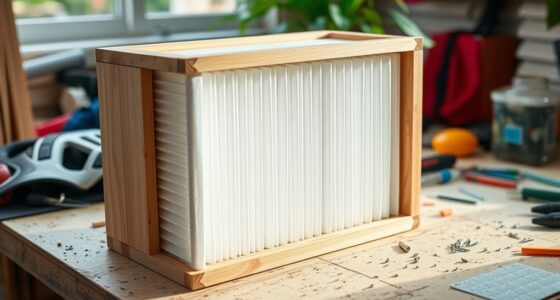
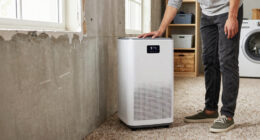
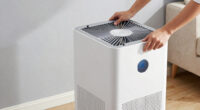
The "Rig in the Closet" Setup — How to Keep It Cool and Quiet
Placing your rig inside a closet sounds perfect for noise reduction. But here’s the catch: sealed spaces trap heat. You can learn more about acoustic treatment and setup. A high-powered GPU can generate over 600W of heat, turning a closet into a mini sauna if you’re not careful [2]. Overheating can cause hardware throttling, reduced lifespan, or even failure, which is why temperature management is critical.
To avoid cooking your hardware, add ventilation. Passive venting helps, but a quiet exhaust fan makes a world of difference. For more tips, see this guide on acoustic setup. For example, installing a small, low-noise PC fan that pulls hot air out keeps the temperature stable without adding noise that will be picked up by your microphone. The tradeoff here is balancing noise isolation with airflow. Using insulated ducts or sound dampers on vents can maintain quiet operation while providing necessary cooling. Some builders go further with custom soundproof cabinets that combine acoustic foam with temperature-controlled exhaust systems—proof that smart design beats just stuffing blankets [3].
ventilated closet for audio rig
As an affiliate, we earn on qualifying purchases.
As an affiliate, we earn on qualifying purchases.
How to Seal Gaps and Prevent Sound Leakage in Your Closet
Gaps in the door or around vents are the weak spots in any closet setup. Sound escapes through cracks, especially around hinges and handles. Learn how to seal gaps effectively at this resource. Weatherstripping and acoustic sealant are your best friends here. For example, sealing the door frame with weatherstripping can cut noise leakage by up to 50%.
Beyond sealing, consider the impact of small openings—these are often overlooked but can significantly compromise your soundproofing. Using a combination of weatherstripping, door sweeps, and mass-loaded vinyl can create a more airtight environment. Adding a heavy curtain or blanket over the door can further dampen sound, especially if sealing isn’t perfect. For a more permanent fix, consider installing a solid-core door or a specially designed soundproof door. These steps are simple but effective, and they help contain the sound within your setup, making your space much quieter.
Floor and Surface Treatments That Cut Reflections
Hard floors and surfaces reflect sound waves, creating echo and boxiness. A thick rug or carpet can absorb these reflections, making the space sound warmer and less harsh. For ideas on surface treatments, visit this gardening and outdoor equipment site. For example, a dense, 2-inch shag rug can significantly reduce echo and footstep noise, which is especially important in small, confined spaces where every surface matters.
In a tiny closet, every soft surface helps. Adding blankets or foam on shelves and around the door can further tame harsh reflections. The reason this works is that soft materials convert sound energy into heat, reducing the amount of sound bouncing around. Overlooking surface treatment can leave your recordings with a sterile, unnatural sound. Therefore, strategically placing soft furnishings can improve clarity and warmth, making your recordings more professional and less fatiguing to listen to.
How Thick Should Your Acoustic Panels Be for a Closet?
Thickness matters. For most closet setups, 2-inch panels are enough to absorb mid and high frequencies. However, if you notice a muddy or boomy sound—often caused by low-frequency buildup—upgrading to 4-inch panels will help tame bass and improve overall clarity. Thicker panels provide deeper absorption, especially in the lower frequencies that tend to resonate in small, enclosed spaces.
For example, a small walk-in closet might need just a few 2-inch panels on the walls, but larger or more reflective spaces benefit from thicker, bass-trapping foam in the corners. The tradeoff is cost and space; thicker panels are more expensive and bulkier but significantly improve sound quality. Choosing the right thickness depends on your specific needs—if your recordings sound thin or boomy, thicker bass traps in the corners are a wise investment. Ultimately, the goal is to balance treatment depth with space constraints while targeting the frequencies most problematic for your environment.
Mic Placement and Reflection Control in a Tiny Space
Your microphone’s position is key. Place it close to your mouth, about 6-12 inches away, to minimize the room’s influence on your sound. Aim it away from reflective surfaces—like untreated walls or windows—to reduce early reflections that cause comb filtering and reverb. For example, facing the mic toward you and the treated wall behind it helps direct sound into the capsule while avoiding bouncing reflections.
Using a small foam shield or pop filter not only reduces plosive sounds but also minimizes reflections bouncing into the mic. Positioning the mic carefully—slightly off-center or at an angle—can further reduce room coloration. Remember, in small rooms, even minor adjustments can significantly improve clarity, so experiment with angles and distances until you find the sweet spot. Proper mic placement ensures your recordings are clean and professional, even in tight spaces.
Common Mistakes to Avoid in Your Closet Setup
Many DIYers assume foam alone will soundproof their closet, but it only dampens reflections. Ignoring gaps around doors or vents lets sound leak, defeating the purpose of treatment. Placing the mic without considering reflection points leads to muddy recordings. Over-treatment with foam can deaden the sound unnaturally, making it sound sterile and unnatural. Conversely, under-treatment leaves harsh echoes and reflections that muddy the mix.
For example, covering only the walls and ignoring the door gaps often results in a noisy, echoey environment. Overusing foam or acoustic panels in a tiny space can lead to an overly dead sound that lacks liveliness. The key is balance—targeting reflection points without overloading the room with treatment. Strategic placement, sealing gaps, and understanding the room's acoustic behavior will give you the best results without wasting resources or space.
Frequently Asked Questions
Does acoustic foam soundproof a closet?
Not really. Acoustic foam mainly reduces echoes and reflections inside the space. It doesn't block noise from escaping or entering. For true soundproofing, sealing gaps and adding mass are essential.
Where should I place panels in a closet booth?
Start with reflection points—behind the mic, the ceiling, and the door. These spots bounce sound directly back to your mic. Place panels in these key areas for the biggest improvement.
Should the mic face the open door or the treated wall?
Point the mic away from the door and toward your mouth, with the treated wall behind. This setup minimizes room reflections and makes your recordings clearer.
Do I need bass traps in a small closet?
If you notice a muddy, boomy sound or low-frequency buildup, adding bass traps in the upper corners can cut down on that. For most small closets, 4-inch panels in the corners are a good start.
How do I stop low-frequency buildup in a tiny room?
Use bass traps in the upper corners and consider thicker panels or specialized low-frequency absorption. Also, avoid parallel walls or add diffusers to break standing waves.
Conclusion
Turning a closet into a quiet, controlled workspace is all about smart placement, sealing gaps, and managing heat. Moving your rig into a closet can be a game changer—if you respect airflow and reflection points.
Think of your closet as a blank canvas. With a few tweaks, it becomes a sanctuary for sound and silence. Your best move? Prioritize sealing gaps and ventilation. The rest will fall into place.