If your humidifier is leaking, start by inspecting the water reservoir for cracks or damage, as tiny leaks often come from these. Make sure you’re not overfilling the tank and that seals and gaskets are secure and free of debris. Check for blockages in water pathways and ensure the drainage system works correctly. Also, examine the base for cracks or warping. Troubleshooting these areas can help prevent leaks—continue to discover more solutions.
Key Takeaways
- Inspect water reservoir, seals, and gaskets for cracks or damage, replacing components as needed.
- Ensure the water level is correct and that drainage and drain tubes are clear of obstructions.
- Verify proper assembly, secure placement, and stable positioning of the humidifier.
- Check water pathways and the base for cracks, warping, or moisture buildup; repair or replace if damaged.
- Regularly clean filters, water tanks, and components, and calibrate sensors for optimal operation.
Top picks for "humidifier leak troubleshoot"
Open Amazon search results for this keyword.
As an affiliate, we earn on qualifying purchases.
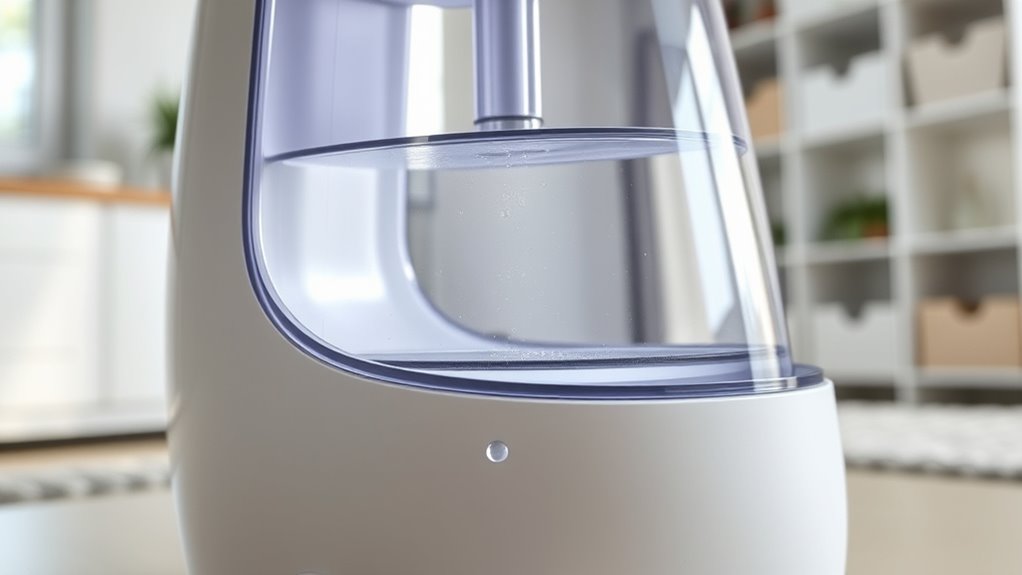
Checking the Water Reservoir for Cracks or Damage
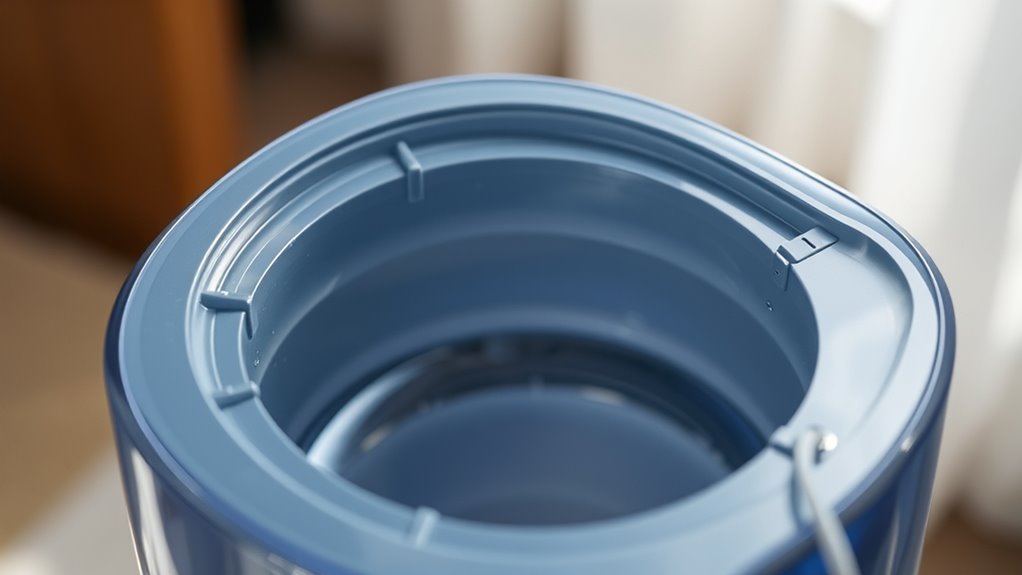
To prevent leaks, start by inspecting the water reservoir for any cracks or damage. Carefully remove the reservoir from your humidifier and examine it closely. Look for visible cracks, holes, or discoloration that might suggest weakness or deterioration. During crack inspection, pay special attention to areas around the seams and the bottom where leaks are most likely to originate. Even tiny cracks can cause water to seep out, leading to leaks and damage. If you find any cracks or signs of damage, it’s best to replace the water reservoir immediately. Regular crack inspection helps catch issues early before they lead to bigger problems. Keeping the water reservoir in good condition is essential for the efficient and leak-free operation of your humidifier. Additionally, understanding the importance of data privacy challenges in technology can help you choose models with better security features.
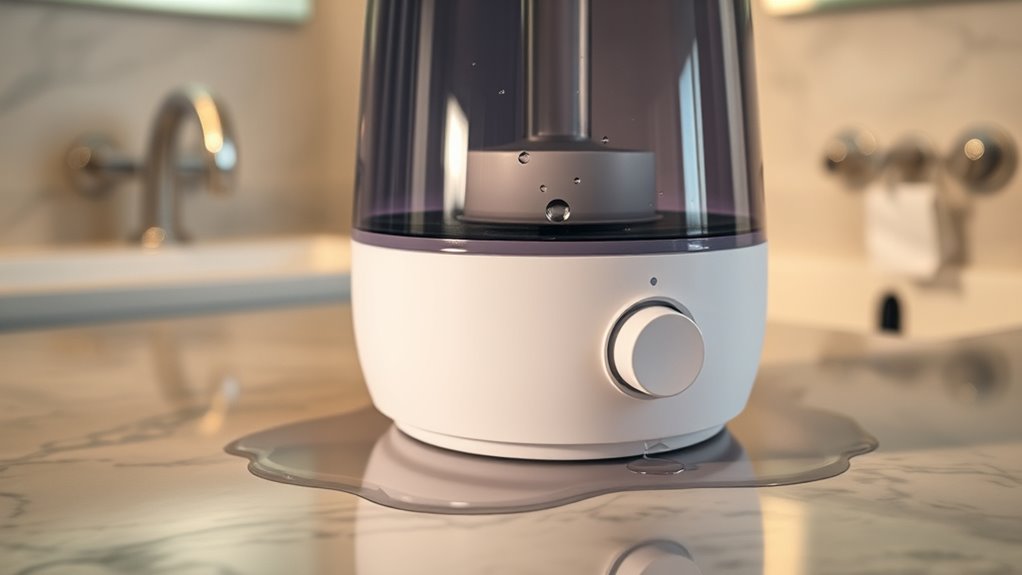
Inspecting the Humidifier’s Water Fill Level and Overfilling Issues
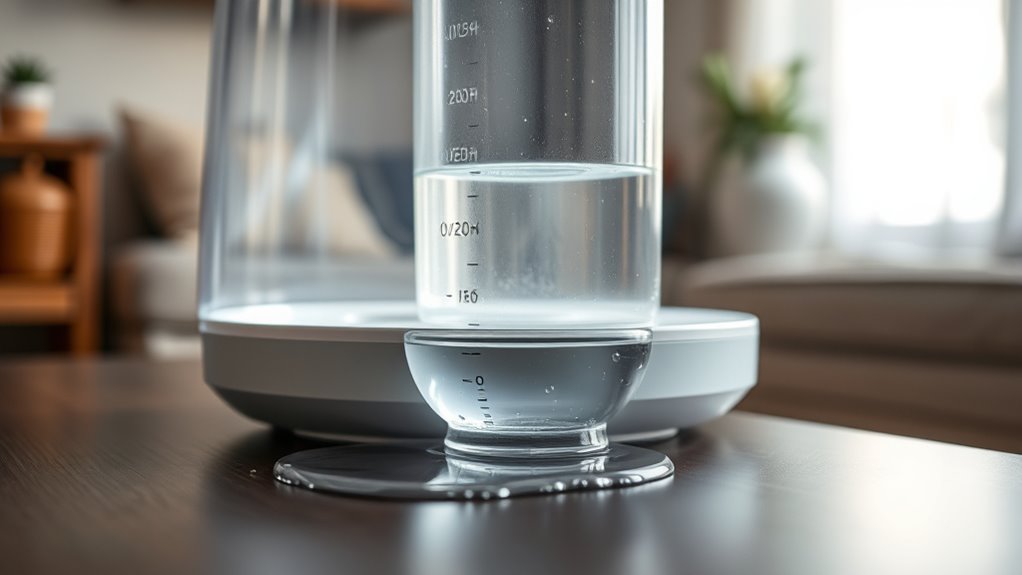
After ensuring your water reservoir is free of cracks and damage, the next step is to check the water fill level. Make sure you’re not overfilling the tank, as overfilling issues can cause leaks or water spills. Most humidifiers have a maximum fill line; always fill below this mark to prevent water from spilling into unintended areas. Overfilling can lead to water leakage and damage to the unit’s internal components. If you notice water pooling around the base or dripping from the tank, it might be due to exceeding the recommended water fill level. Correcting the water level helps maintain proper operation and reduces the chances of leaks caused by overfilled tanks. Always follow the manufacturer’s instructions for the appropriate water fill level. Incorporating vertical storage solutions in your cleaning routine can also help keep the area around your humidifier tidy and prevent accidental spills.
Examining the Water Tank Seal and Gaskets
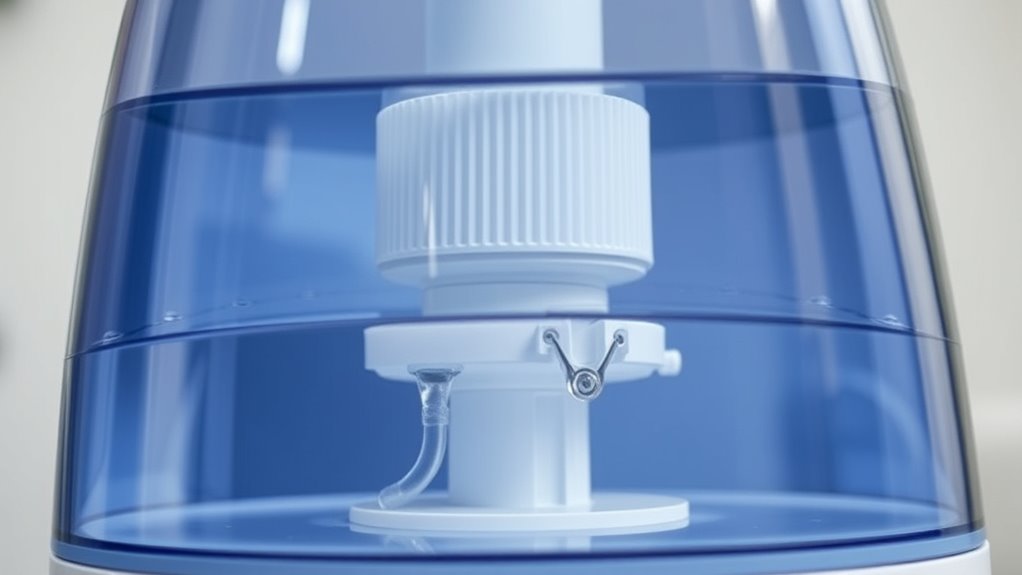
Examining the water tank seal and gaskets is essential because damaged or misaligned seals can cause leaks even if the water level is correct. Start by inspecting the seal around the water tank opening for cracks, tears, or deformities. Check the gasket for proper placement and ensure it’s seated evenly without any debris or damage. If you notice cracks or signs of wear, gasket replacement is necessary to prevent leaks. A faulty gasket can allow water to escape, leading to persistent leakage issues. When reinstalling the water tank, make sure the gasket is securely positioned and the seal is tight. Regularly inspecting and replacing damaged gaskets will help maintain a proper seal and keep your humidifier functioning leak-free. Additionally, understanding the importance of water tank seals in preventing leaks can help you identify issues early and ensure optimal humidifier performance.
Ensuring Proper Assembly and Correct Placement of Parts
To prevent leaks, you need to make sure all parts are assembled correctly. Check that everything is aligned properly and fastened securely. Also, confirm that each component is in the right position before operating your humidifier. Being aware of proper assembly can help avoid operating hour issues that may lead to leaks.
Verify Part Alignment
Ensuring that all parts of your humidifier are properly aligned is essential to prevent leaks. Misaligned components can cause water to escape or damage internal parts. First, check that the air filter replacement is seated correctly; an improperly placed filter can disrupt airflow and sealing. Next, inspect the power cord to ensure it’s plugged in securely and not loose, which could lead to electrical issues or leaks. Confirm that the water tank and base fit tightly without gaps. Use this quick reference:
| Part | Proper Positioning | Common Issues |
|---|---|---|
| Air filter | Fully inserted, flush with housing | Misalignment causing leaks |
| Power cord | Securely plugged in | Loose connection, sparks |
| Water tank | Fits snugly, aligned with base | Water leaks from gaps |
| Internal components | Correctly assembled, no gaps | Water escaping or leaks |
Additionally, verifying the proper assembly process can help prevent future leak issues and ensure your humidifier functions efficiently.
Secure Fastenings Properly
Securely fastening all parts of your humidifier is essential to prevent leaks and guarantee proper operation. Loose fittings or improperly secured components can lead to water drips, damage, or inefficient functioning. Make sure the filter replacement is correctly installed and securely seated to prevent leaks around the filter area. Check that the electrical connection is tight and free of corrosion, ensuring safe operation. When reassembling, tighten all screws and clasps firmly but avoid overtightening, which could damage parts. Proper fastening helps maintain a tight seal, preventing leaks and ensuring your humidifier works safely and efficiently.
Confirm Correct Placement
Double-check that all parts are correctly assembled and properly placed. Proper humidifier placement is essential to prevent leaks and ensure ideal performance. Make sure the unit sits on a flat, stable surface and that the tank is securely attached. Incorrect placement can cause water to leak or spill, affecting room humidity levels. Verify that the water reservoir is seated correctly and that all seals are tight. Avoid placing the humidifier near walls, furniture, or electronics that could block airflow. Proper assembly and placement help maintain consistent room humidity and prevent leaks. Additionally, using a humidifier with automatic shut-off features can help prevent overflows and leaks. Once everything is in place, turn on the humidifier and monitor for any signs of leakage or uneven operation. Correct placement is key to safe, effective humidification.
Identifying Clogs or Blockages in the Water Pathways
Start by inspecting the water channels in your humidifier to spot any blockages. If you notice obstructions, carefully clear them out to restore proper flow. Ensuring these pathways are clear can prevent leaks and improve your humidifier’s performance. Additionally, regular maintenance of water pathways can help avoid clogs or blockages that may develop over time.
Inspect Water Channels
To guarantee your humidifier functions properly, you need to inspect its water channels for clogs or blockages. Start by unplugging the power cord and removing the water tank. Check the pathways where water flows, especially around the air filter area, as debris can cause obstructions. Look for buildup, mineral deposits, or any foreign objects that might hinder water movement. A clogged water channel can cause leaks or uneven humidification. Also, ensure the water channels are clean and clear of obstructions to allow smooth water flow. Remember, a blocked water pathway can sometimes be caused by a dirty air filter, which affects airflow and water circulation. Regularly inspecting these channels helps prevent leaks and keeps your humidifier working efficiently. Additionally, understanding the importance of humidifier maintenance can help you identify issues early and prolong the device’s lifespan.
Clear Obstructions Properly
Have you noticed water not flowing smoothly through your humidifier? This could be a sign of obstructions in the water pathways. Check for clogs or debris that might be blocking water flow, which can cause increased humidifier noise and disrupt water evaporation. Carefully remove any buildup or mineral deposits from the water channels, using a soft brush or cloth. Make sure the pathways are clear and unobstructed to guarantee proper water movement. Clearing these obstructions helps maintain consistent humidity levels and prevents leaks caused by water stagnation. Regularly inspecting and cleaning the water pathways keeps your humidifier functioning efficiently, reducing noise and improving water evaporation. Proper maintenance ensures your humidifier operates quietly and effectively, providing ideal comfort in your space. Additionally, using appropriate cleaning solutions can help remove mineral buildup and keep the water channels clear.
Verifying the Humidifier’s Drainage System for Obstructions
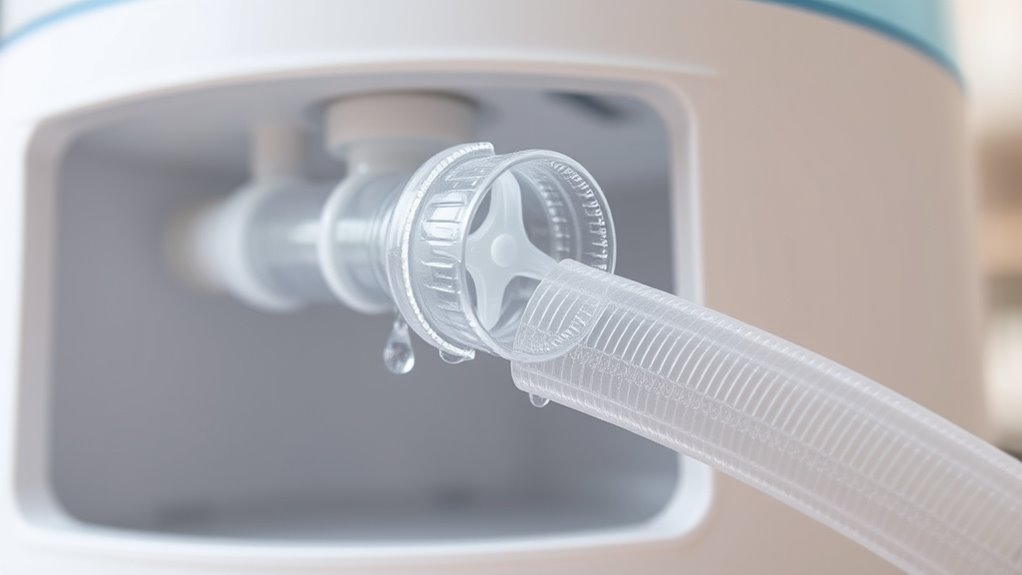
If your humidifier is leaking, a common cause is an obstruction in the drainage system. Start by inspecting the drain tube for clogs or kinks, which can prevent water from flowing properly. Make certain the humidifier filter isn’t clogged, as debris can block drainage. Also, check the electrical connections to confirm they’re secure, since faulty wiring might affect drainage operation.
Inspect and clear drain tubes, replace filters, and secure electrical connections to stop humidifier leaks.
- Clear any kinks or debris from the drain tube
- Replace or clean the humidifier filter regularly
- Confirm all electrical connections are tight and working
Assessing the Humidifier’s Base for Leaks or Cracks
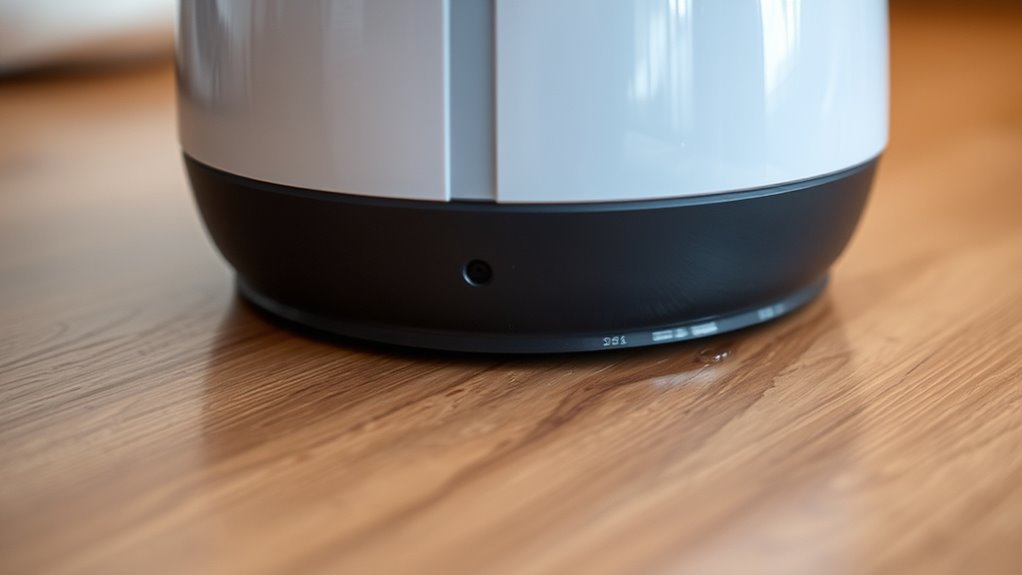
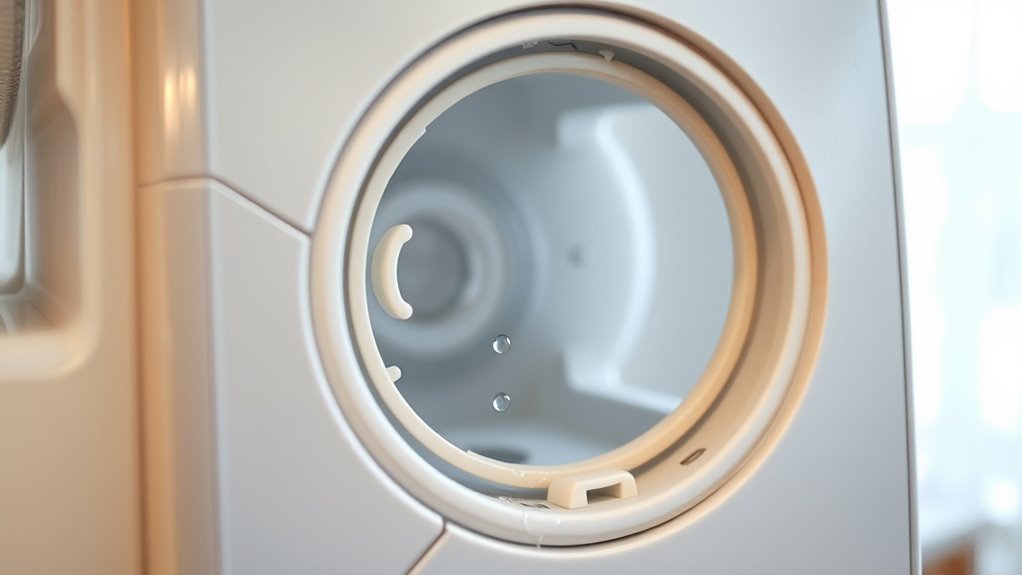
Inspecting the humidifier’s base is essential because cracks or leaks can develop over time, leading to water damage and inefficient operation. Carefully examine the base for visible cracks, warping, or pooling water. The type of humidifier material influences its durability; plastic bases may crack more easily than metal ones. Use a flashlight to check hard-to-see areas and run your finger along seams for moisture. Here’s a quick visualization:
| Humidifier Material | Leak Indicators |
|---|---|
| Plastic | Cracks, warping, pooling water |
| Metal | Dents, corrosion, cracks |
| Composite | Fractures, water seepage |
| Warranty Coverage | Covers replacement for damages |
If you find damage, consult the warranty coverage to determine if repairs or replacements are possible, ensuring your humidifier stays efficient. Recognizing the material durability can help prevent future leaks and prolong the life of your device.
Testing the Humidifier’s Sensors and Control Settings

After checking the humidifier’s base for physical damage, it’s important to verify that the sensors and control settings are functioning correctly. Begin by inspecting the sensor calibration to ensure the humidity readings are accurate. Then, review the control panel settings to confirm they’re set appropriately for your desired humidity level. Incorrect calibration or improper settings can cause false readings, leading to leaks or overflows. Additionally, ensuring that your humidifier uses smart features like auto functions can help maintain consistent humidity levels and prevent issues. Make sure the sensor calibration matches the manufacturer’s guidelines. Adjust the control panel settings to the recommended humidity level. Test the sensors by observing if the display responds accurately when humidity changes. Proper sensor calibration and correct control panel settings help prevent false triggers that could cause leaks or water accumulation.
Regular Maintenance and Cleaning to Prevent Leaks
Regular maintenance and cleaning are essential to prevent leaks in your humidifier. Start by regularly replacing or cleaning the air filter, as a clogged filter can cause water to overflow or leak. Check the humidifier’s placement; ensure it’s on a flat, stable surface away from walls or furniture to avoid tipping or water runoff. Clean the water tank and components weekly to prevent mineral buildup and mold, which can contribute to leaks. Inspect seals and gaskets for damage and replace them if needed. Keep the area around the humidifier dry and free of dust. Proper placement and routine maintenance help maintain ideal operation, reducing the risk of leaks and extending your humidifier’s lifespan. Additionally, understanding humidifier maintenance can help you identify early signs of problems before they lead to leaks.
Frequently Asked Questions
How Can I Identify Hidden Cracks Inside the Water Tank?
To identify hidden cracks inside the water tank, start with a thorough water tank inspection. Use crack detection methods like applying a soapy water solution to the tank’s surface—bubbles will form at leak points. You can also shine a flashlight along the tank’s seams in a dark room to spot tiny hairline cracks. Look for discoloration or wet spots, which may indicate unseen damage. Regular inspection helps prevent leaks and water damage.
What Are Signs of Internal Corrosion Causing Leaks?
Internal corrosion can feel like a silent assassin, slowly causing leaks without warning. Look for signs like discoloration, pitting, or a rusty smell inside your water tank. Regular corrosion prevention and leak detection methods help catch issues early. If you notice any of these signs, it’s time to act—addressing corrosion early can save your humidifier from major damage and keep it functioning smoothly.
Can Ambient Temperature Affect Humidifier Leak Issues?
Ambient temperature can definitely affect humidifier leak issues. When the temperature drops, humidity levels inside your space decrease, leading to condensation issues inside or around the humidifier. This excess moisture can cause internal corrosion or leaks over time. You should monitor the temperature and humidity levels closely, ensuring proper ventilation and consistent settings. Keeping temperatures stable helps prevent condensation buildup, reducing the risk of leaks caused by internal corrosion or excess moisture.
How Do I Troubleshoot Electrical Malfunctions Causing Water Leaks?
When troubleshooting electrical malfunctions causing water leaks, start by inspecting the electrical wiring for damage or loose connections. Make certain the power supply is stable and properly connected, as fluctuations can lead to malfunctions. Turn off the unit before working on it, and look for any signs of short circuits or corrosion. If you find issues, replace damaged wiring, and verify the power supply to prevent future leaks caused by electrical faults.
Are There Specific Brands More Prone to Leaks?
Think of humidifier brands as different ships steering through rough waters; some sail smoother than others. Certain brands with poor reputation tend to have higher leak frequency, making them more prone to issues. You should research brand reputation and read reviews before purchasing. Generally, well-known brands with good customer feedback are less likely to leak, so choosing trusted names can help you avoid the frustration of frequent leaks and guarantee better performance.
Conclusion
Remember, a little prevention goes a long way. Regularly check for cracks, clear clogs, and keep everything properly assembled to avoid leaks. Don’t ignore small issues—they can turn into bigger problems if left unchecked. By staying attentive and maintaining your humidifier, you’ll keep it running smoothly and prevent leaks before they start. After all, an ounce of prevention is worth a pound of cure, so stay proactive and enjoy a leak-free, cozy home.